Upgrading Your Ordinary Floors with Epoxy Art Patterns
Giving your floors a visually appealing design make a lot of difference to the look of your entire interior.
Nowadays, homeowners do not anymore rely on ordinary plain concrete or tiles. No more outdated linoleum that can decrease the quality of the flooring material is not taken care of.
You can now use more durable and stylish floor enhancers such as epoxy. Epoxy is a form of resin, and you can take inspiration from various resin art you can see online. Pinterest and Instagram are also good sources for design ideas for resin floor designs.
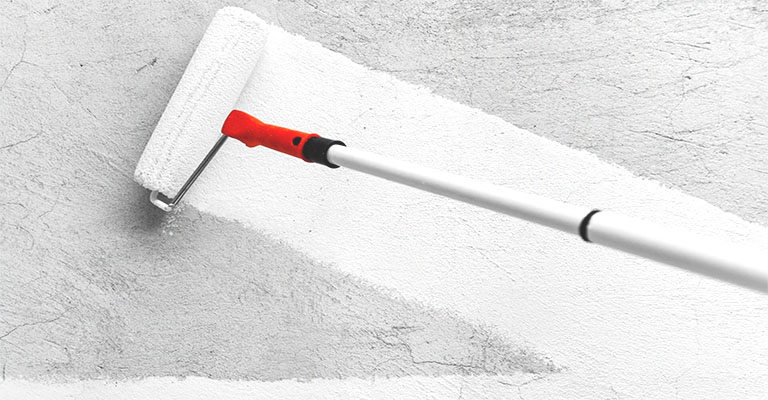
Before you can fully have fun designing the floors, what you need are tips and steps to follow on how to apply epoxy resin on the surfaces of the floors. That is what you are all going to discover in this post. Read on!
Ordinary to outstanding: epoxy-coated floors
Your ordinary floors can turn into an outstanding piece in your property. All the more when you use superior materials. For instance, epoxy floor coating creates a glossy surface. That will make the surfaces shine extraordinarily.
Moreover, these coatings can be mixed with other materials like paint chips or vinyl paints. You can even choose glitter paints and make the floor look metallic. A lustrous effect can result from it.
There are many techniques that you can produce from epoxy. Let’s get to them individually and learn some inspiration and tips to add beauty to your flooring.
Faux-terrazzo art flooring
Terrazzo is traditional, luxury flooring designs common to historic and villa-like homes. A five-star like hotel may also have these flooring designs.
Originally terrazzo is made for interior spaces like terraces, hallways, and stairway landings.
The floor surface is finished with terrazzo coatings with shard-glass, tile or porcelain pieces, colored pebbles, silicon sand, and aggregate. With this mixture, the result is an eclectic-looking design bursting with colors.
You can replicate this with epoxy and, of course, with an artistic technique. To do it is to use a clear epoxy as the base coating. Then before applying a final or second resin coating, scatter a mix of vinyl paint chips with the choice of your colors and add a few metallic glitter chips.
The technique combines multiple sizes of [aitn chips from coarse to a little bigger chip paint sizes. That will be enough to mimic the aggregated-glittery terrazzo.
Chipped Chic Patterns
Another way to decorate the floor with chip epoxy is to use mono or dual tones. You can settle for classic but chic flooring with single-colored paint chips mixed on a single-colored base epoxy.
For example, you can mix blue-chip paints on white epoxy. Or go for a modern industrial white-black base epoxy topped with white or grey paint chips.
The important consideration when making this design is that you use fine sizes of paint chips. The results are colorful yet fine-tuned patterns that pop out of the floor’s surface.
It is a simple approach to adding an aesthetic twist to ordinary hard concrete flooring. If you want to create the best chip flooring design, it is best to rely on professionals like Chip Epoxy Flooring Hamilton installers.
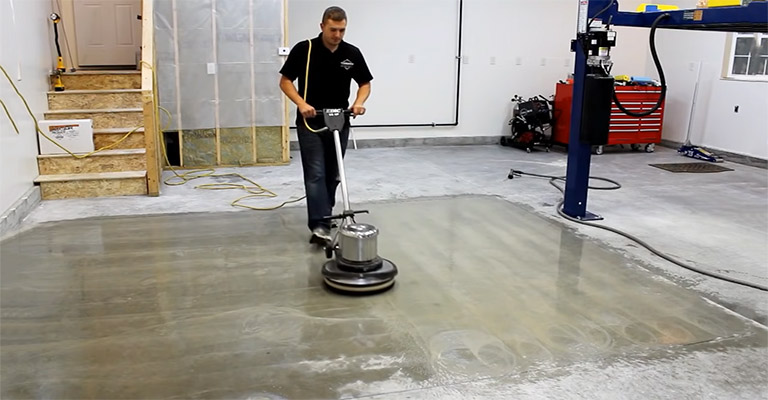
The best technique uses the most up-to-date resin materials and tools. Most crucial is preparing the floors that would be designed with epoxy. A professional flooring treatment is possible with the experts at Texturock.
Marbling Epoxy Patterns
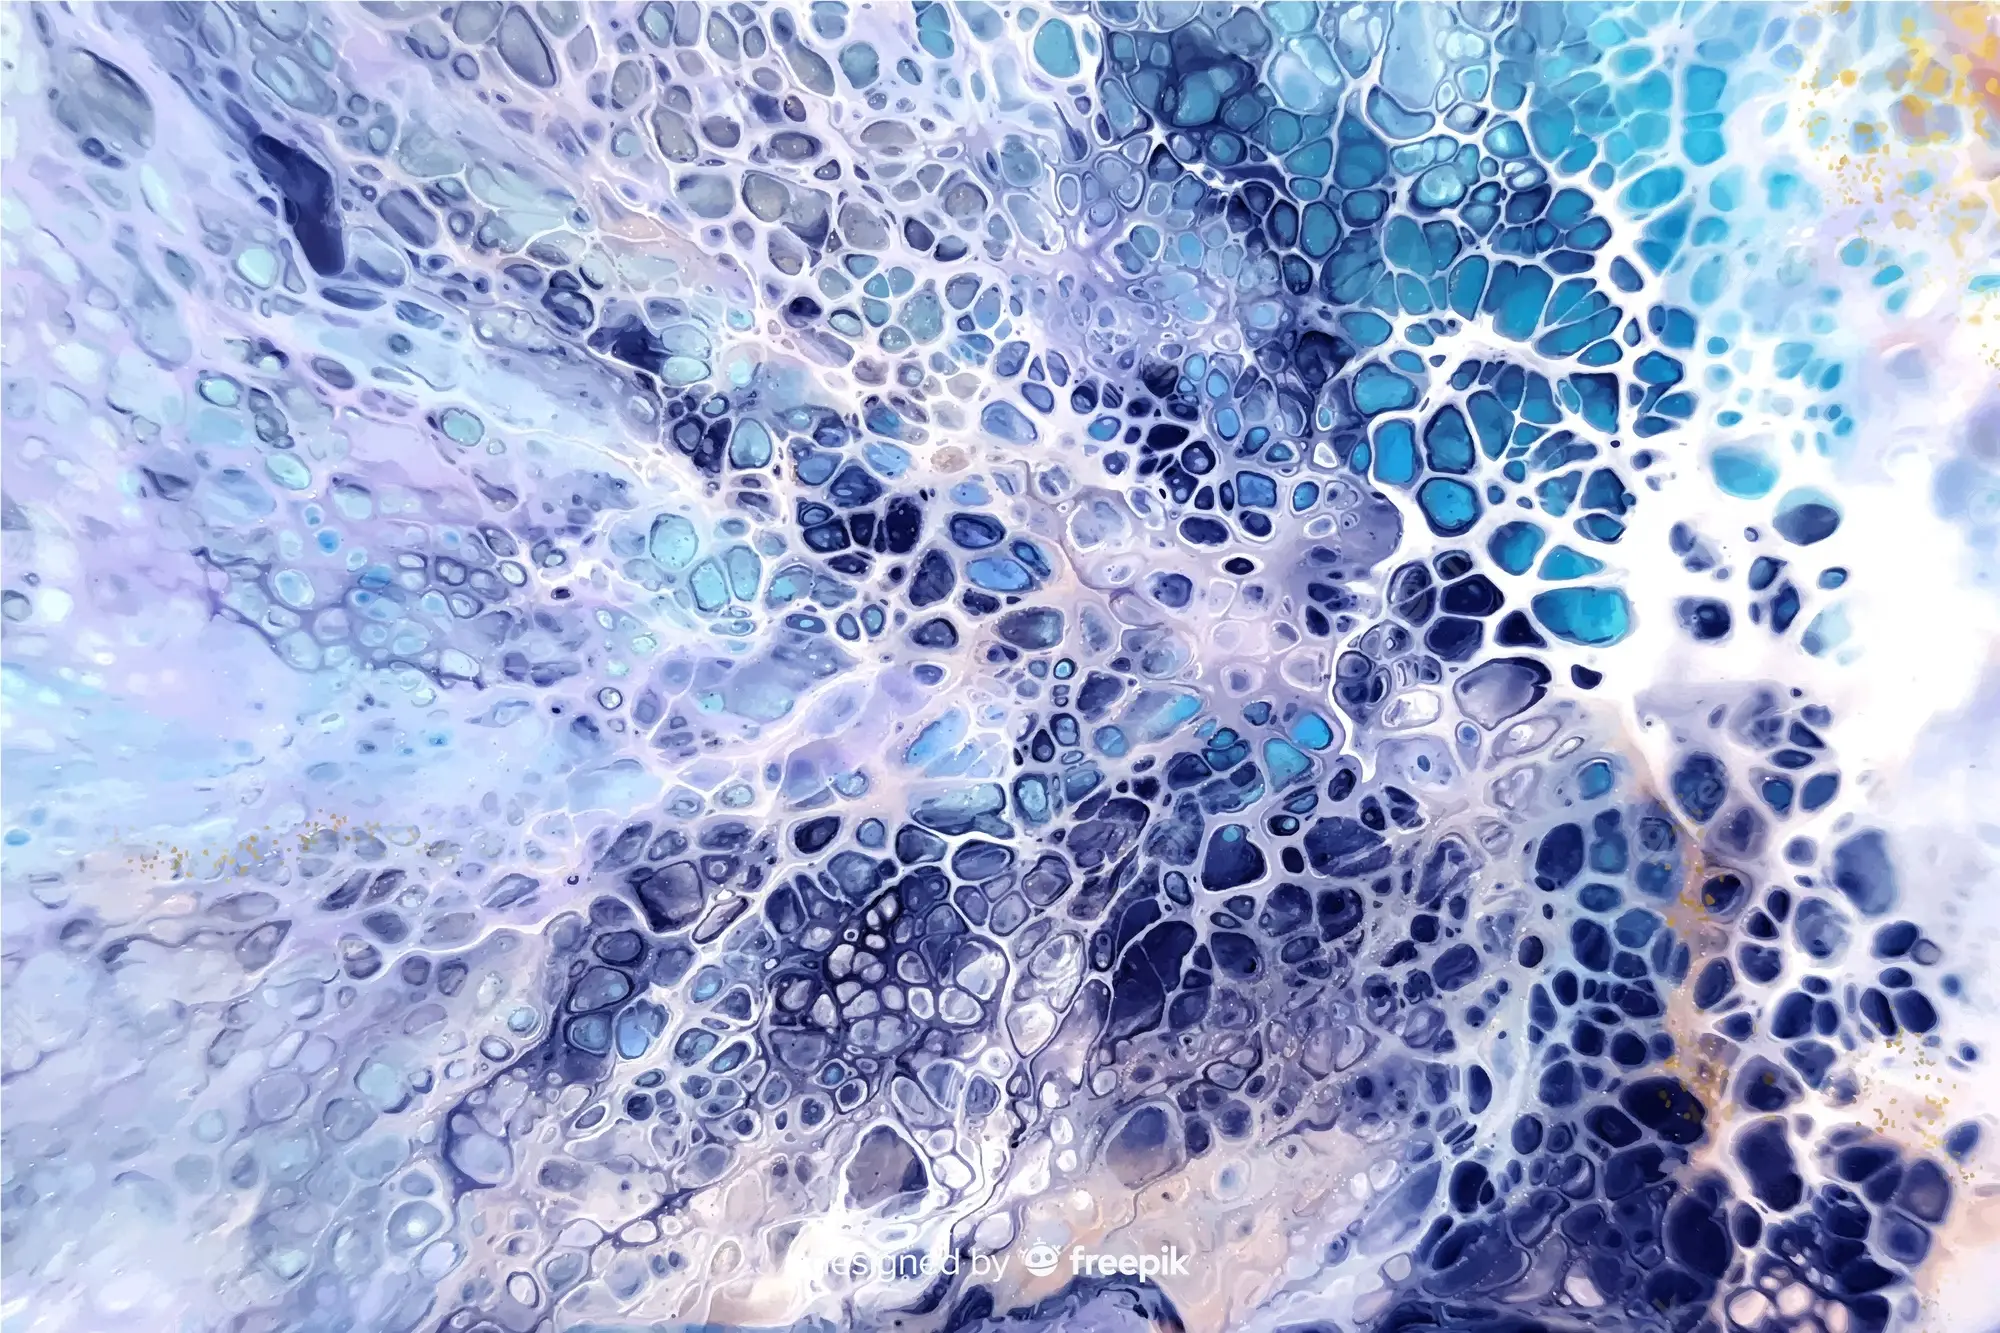
Next is a technique called marbling. Instead of using paint chips as additives to the decor, you will use two tomes of epoxy coats for this one.
Pour a base layer of epoxy onto your flooring surface to create the marbling effect. Make sure it is evenly spread.
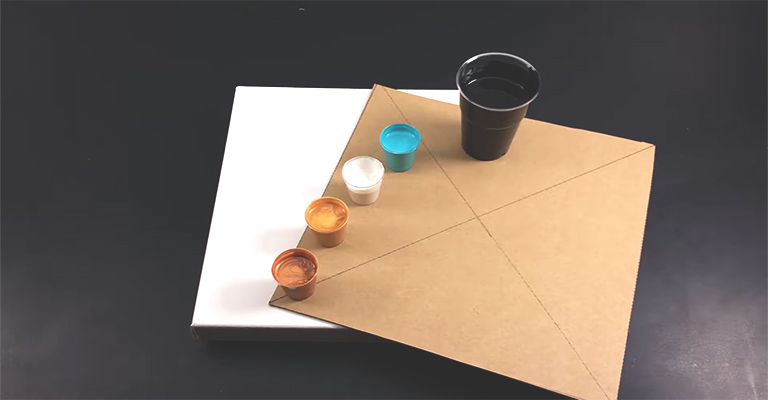
Next, choose two contrasting colors of epoxy resin. These can be any colors that complement your overall design scheme. Pour one color into the center of the base layer and let it spread naturally. Then, pour the second color directly into the center of the first color.
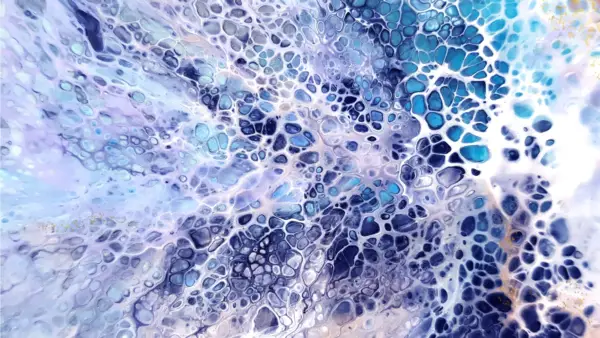
Using a heat gun or a torch, gently manipulate the epoxy to create a marbled pattern. You can swirl the colors together, create waves, or even incorporate intricate designs by dragging a tool through the epoxy. Experiment with different techniques to achieve the desired look.
Final Thoughts: Pour layers of creativity
These techniques with epoxy allow you to create stunning, one-of-a-kind patterns that resemble natural stone or expensive materials like terrazzo and marble. They all add a touch of elegance and sophistication to any space, making it a popular choice among artistic homeowners and DIY enthusiasts. Choose whatever it is that suits your style and preferences.
In conclusion, marbling epoxy patterns is a fantastic technique for artistic homeowners and DIY warriors who want to elevate their interior design. With its versatility and endless creative possibilities, marbled epoxy adds a touch of sophistication and personalization to any space. So unleash your creativity, experiment with different techniques, and let epoxy be your artistic ally in transforming your living spaces into personalized masterpieces.

