Post Renovation Cleaning Checklist For Homeowners
To ensure a sparkling clean home after renovations, equip yourself with an effective post-renovation cleaning checklist. Discover the importance of post-renovation cleaning, along with valuable tips and strategies for achieving a pristine living space. Let’s delve into the details and uncover the secrets to a successful post-renovation cleaning routine.
Importance of post-renovation cleaning
Post-renovation cleaning is essential for a clean and hygienic home or workplace. Cleaning goes beyond just wiping surfaces; it also includes cleaning all the nooks and crannies, and hard-to-reach areas that might have collected dust, debris, or even hazardous particles during the renovation.
Many companies offer specialized services to address these concerns, such as the post-renovation cleaning service by Fantastic Cleaners. This is because they have the expertise and equipment needed to ensure every corner of your renovated space is spotless.
A post-renovation cleaning service can help take care of any leftover construction materials, paint splatters, and adhesive residues. This kind of meticulous cleaning will help restore the look of the renovated area and make sure it’s truly ready for use.
Plus, post-renovation cleaning can keep indoor air quality safe. Renovations often release pollutants like formaldehyde and VOCs into the air. These can linger even after the job is done. Specialized cleaning techniques can clear away these contaminants and make sure the air is good for occupants.
Moreover, post-renovation cleaning prevents any potential health issues caused by dust and allergens. Renovations can stir up settled dust and cause allergies or breathing issues. Professional cleaners know how to get rid of all dust particles, minimizing any health risks associated with poor air quality.
Finally, not getting post-renovation cleaning can lead to long-term damage to recently installed fixtures or surfaces. Dust or debris can scratch delicate finishes or corrode metals over time. Investing in thorough post-renovation cleaning will protect your investment and make sure everything is looking good for years to come.
Preparing for post-renovation cleaning
To efficiently prepare for post-renovation cleaning, equip yourself with the right tools. Gather necessary supplies for an organized and effective cleaning process. Additionally, prioritize safety precautions to protect yourself and others during the cleaning activities.
Gathering necessary supplies
Gathering all the needed supplies for post-renovation cleaning is essential to ensure a smooth process. Here’s a 3-step guide to get you started:
- Assess your cleaning needs:
- Take a tour of the renovated area and work out which supplies are necessary.
- Think about what kind of renovation was done (e.g. painting, flooring, or remodeling) and the materials used (e.g., wood, tiles, or fabrics). These details will guide you in choosing the right cleaning products and tools.
- Make a shopping list:
- Based on your assessment, make a list of all the supplies you need.
- Include things like protective gear (gloves, masks), cleaning solutions (non-toxic, if possible), brushes, sponges, microfiber cloths, vacuum cleaner with attachments, mop/broom/dustpan set, and garbage bags.
- Don’t forget any special cleaners or tools suggested for certain surfaces or finishes in the renovated area.
- Stock up:
- Buy the essentials first before moving on to extra supplies.
- Look for discounts at local stores or online to save money while still getting quality products.
- Buy enough supplies so you don’t run out mid-cleaning. It’s better to have extras than to be interrupted.
Every renovation project is different, so adjust your list accordingly. Prepare ahead of time and you’ll be able to streamline your post-renovation cleaning and get great results. Also, keep in mind any advice from contractors or professionals who worked on the renovation – it’ll help you make wise decisions and get the most out of your cleaning efforts.
Ensuring safety precautions
Post-renovation cleaning safety is a must! Here are 5 ways to protect yourself and others:
- Wear gloves, goggles, and masks to guard against bad dust and chemicals.
- Open windows and use fans to avoid bad fumes.
- Check for exposed wires and damaged equipment.
- Keep cleaning supplies away from kids and pets.
- Place hazardous materials in special containers.
Remember to have a look around for potential hazards. Safety should be the top priority when cleaning after a renovation.
Step-by-step checklist for post-renovation cleaning
To ensure a thorough post-renovation cleaning with maximum efficiency, follow this step-by-step checklist. Start by removing dust and debris, then proceed to clean surfaces and fixtures, windows and mirrors, floors, appliances and cabinets, and finally, vents and air ducts. Each sub-section provides a solution for specific areas that require attention after a renovation project.
Removing dust and debris
After the renovation is done, it’s important to make sure all the dust and debris from construction is gone. To do this, follow these steps:
- Open windows and doors for ventilation.
- Use a broom or vacuum cleaner with a HEPA filter to sweep walls, floors, and ceilings.
- Wipe down surfaces with a damp cloth or microfiber mop to catch any leftovers.
- Check corners, crevices, and moldings for dust.
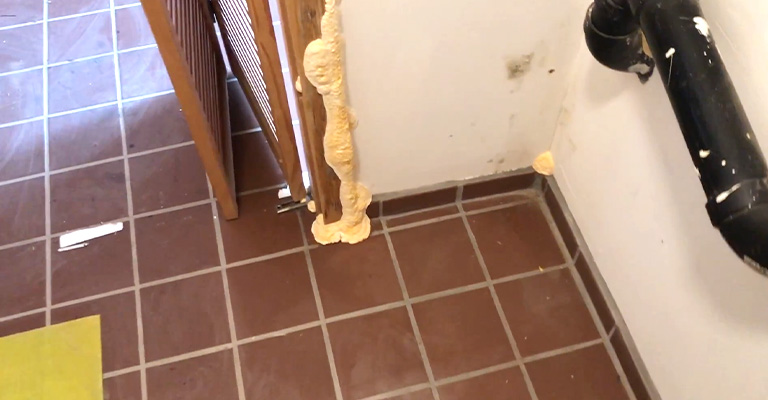
- For stubborn stuff, use a scraper or putty knife.
- Seal dust and debris in a bag before tossing it away.
Repeat until all dust and debris are gone. It’s worth it for a truly spotless post-renovation space. Don’t forget the smallest of particles – overlooking them can make your home or office unclean. So take the time and effort to remove all dust and debris for a clean result.
Cleaning surfaces and fixtures
Steps to clean after renovation:
- Dust all surfaces, including walls, ceilings, and furniture, with a microfiber cloth or feather duster.
- Wipe down countertops, shelves, and other hard surfaces with a mild detergent or multipurpose cleaner.
- Clean mirrors and glass fixtures with a glass cleaner for streak-free results.
- For stubborn stains or grime, use a scrub brush or gentle abrasive cleaner on tiles and fixtures.
- Disinfect doorknobs, light switches, and faucets with an antibacterial spray or wipes.
- Additionally, look out for overlooked details. Clean inside cabinets and drawers to remove construction debris.
- Vacuum upholstery and carpets for dust.
- Don’t forget to clean ceiling fans and light fixtures, which can collect dust during the renovation process.
- Lastly, clean windows and mirrors to check your reflection and ask yourself why you chose to renovate!
Cleaning windows and mirrors
- Remove any dust or debris from windows and mirrors with a soft-bristled brush or cloth.
- Mix warm water and mild dish soap in a bucket.
- Dip a sponge or squeegee in the soapy water and scrub the glass.
- Focus on stubborn stains or smudges.
- Rinse the sponge or squeegee with clean water and wipe again to remove soap residue.
- Dry the glass with a lint-free cloth or paper towels in long, vertical strokes.
- For an extra shine, use a glass cleaner made for windows and mirrors.
- To finish, use a microfiber cloth to wipe down window frames and ledges.
- This will remove any dirt particles, leaving a spotless look.
- Follow these steps for a freshly renovated space that sparkles!
Cleaning floors
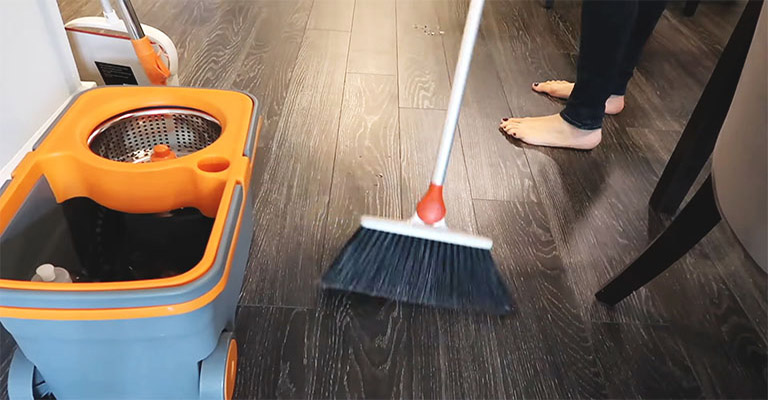
- Sweep or vacuum the floor to get rid of any debris.
- Mop or use a damp cloth with a cleaning solution for the floor surface. Focus on any stains or difficult dirt.
- Use the right cleaners and tools for different flooring.
- Let the floor dry before putting furniture and rugs back in the room. That way, your floors will look great and last longer.
Cleaning appliances and cabinets
- Wipe the outside of your appliances with a damp cloth to remove any dust or grime from renovations.
- Take out all removable parts such as shelves and drawers, and wash them with warm soapy water.
- Interior surfaces can be wiped down with a mixture of water and vinegar for odors.
- Empty those cabinets to declutter and organize. Wipe down inside and out with a mild detergent solution. Pay special attention to sticky and greasy spots.
- Handle and knobs need extra TLC; use a microfiber cloth soaked in soapy water.
- Finally, dry with a soft cloth to prevent watermarks.
By doing this, your appliances and cabinets look clean and function better! Show them some love and get rid of the dust bunnies!
Cleaning vents and air ducts
- Remove vent covers with a screwdriver and keep track of the screws.
- Vacuum the vents with a brush attachment to get rid of dust, debris, and particles.
- Clean the vent covers with warm soapy water or detergent.
- Rinse thoroughly and let them dry.
- Professional help may be necessary for more comprehensive cleaning.
- Check and replace filters for clean airflow throughout your home.
With these steps, improved air quality and optimal HVAC functioning is within reach.
Additional tips for effective post-renovation cleaning
To ensure an effective post-renovation cleaning process, familiarize yourself with additional tips.
Hiring professional cleaners
When hiring professional cleaners for post-renovation cleaning, it’s a game-changer! They have the skills and tools to take on the toughest jobs, making your space spotless and ready for use. Here’s what you should consider:
- Quality results: Professionals are trained to deliver incredible cleanliness. They’ll clean every corner, leaving your space immaculate.
- Time-saver: Cleaning up after a renovation takes time. Professional cleaners free up your time for other tasks.
- Safety: Renovations may involve hazardous substances. Professional cleaners know how to handle these safely.
- Tools and products: Cleaning after a renovation needs special tools and products that only professionals have.
- Customized services: Each post-renovation project requires different approaches. Professional cleaners provide tailored services to suit your needs.
- Insurance: Accidents can happen. Professional cleaners have insurance coverage so any damages or injuries are taken care of.
Plus, you get to enjoy the benefits of their expertise without having to worry about the details of the cleaning process. With their help, you can fully appreciate the transformation of your renovation project. Hiring professionals is a surefire way to achieve cleanliness nirvana!
Maintaining cleanliness after renovation
- Sweep away the debris and dirt from renovations with a broom or vacuum.
- Wipe down all surfaces, walls, countertops, and furniture. Especially where there may be grime.
- Choose cleaning solutions for the floors, tailored to the type of flooring.
- Clean inside and outside of windows for a sparkle.
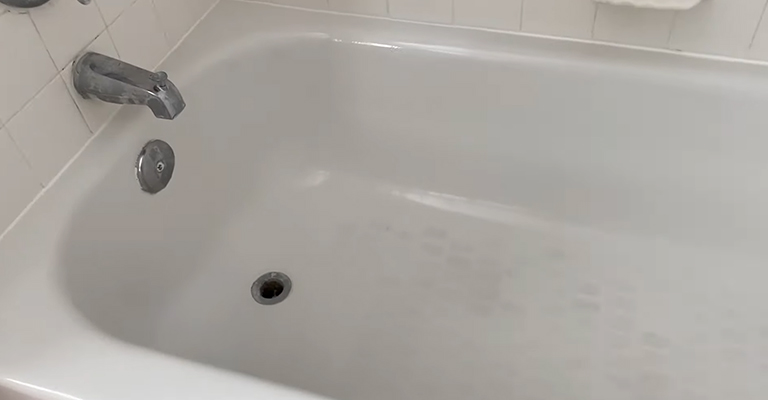
- Check and clean any fixtures, like light fittings, appliances, and bathroom fittings.
- Finally, bring in a fresh smell with air fresheners or open windows.
For a unique clean:
- Use microfiber cloths for a thorough clean.
- Hire pros to make it even easier!
You’re all set for a clean and fresh post-renovation home. No sweat!
Conclusion
After a home renovation, homeowners need to clean up. This post-renovation cleaning checklist provides a guide to get your home sparkling clean. Follow these steps to restore your home to pre-renovation condition.
- Clear any construction debris such as nails, wood scraps, or materials. Inspect each room and get rid of unwanted possessions and packaging. This is the basis of the cleaning process.
- Next, dust surfaces like furniture, windowsills, vents, and lights. Vacuum upholstery and carpets too, to get rid of dirt.
- For floors, mop hard surfaces with a safe cleaner. If you have carpets, use professional carpet cleaning services.
- In the kitchen and bathroom, scrub countertops, sinks, toilets, and showers. Pay attention to grout lines and hard-to-reach spots. Disinfect for optimal hygiene.
- Polish metal fixtures like doorknobs or faucets for an extra shine. Ventilate each room by opening windows for fresh air circulation. This also helps get rid of paint or construction odors.

