Tile Over Tile: Tips and Techniques for a Successful Renovation
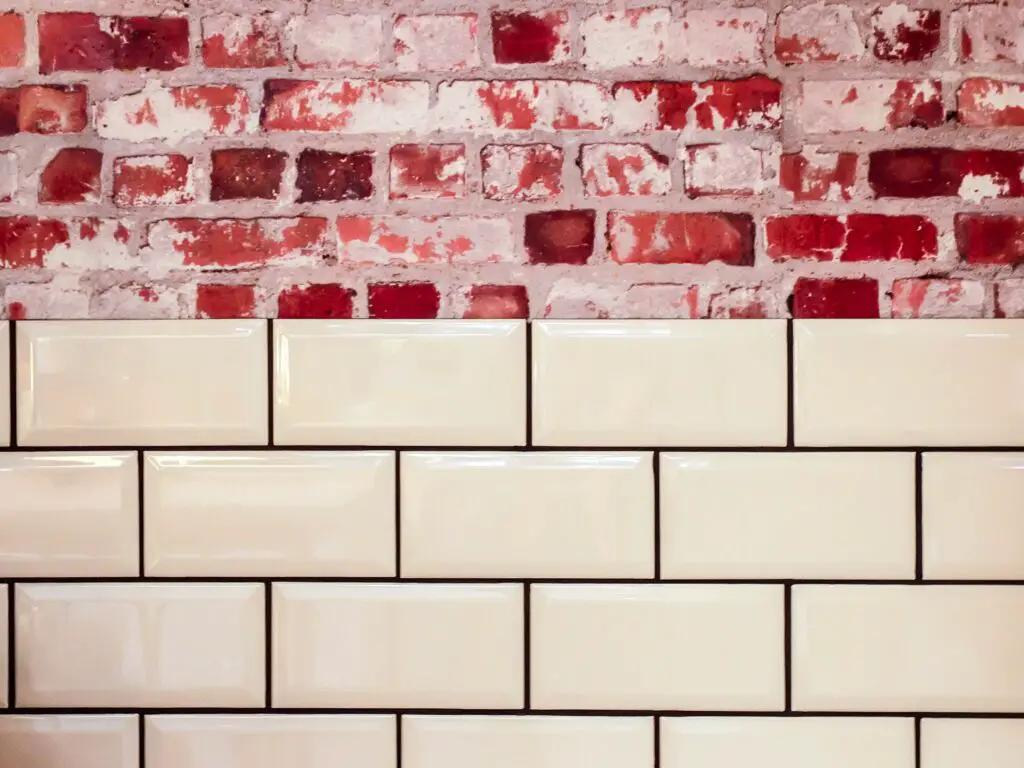
Tiling over existing tiles is a growing trend in home renovations, providing homeowners with an efficient way to update their spaces without the hassle of removing old tiles. This method saves time and money, but it also has its drawbacks.
In this comprehensive guide, we’ll cover everything you need to know about tile over tile, including the pros and cons, the necessary preparation steps, and tips for a successful renovation project. Read on to learn more about this popular renovation technique.
The Pros and Cons of Tile Over Tile
Before diving into the process, it’s essential to weigh the advantages and disadvantages of tiling over existing tiles to determine if it’s the right choice for your project.
Pros:
Time and cost-effective
Tile over tile is often faster and more affordable than removing old tiles and installing new ones from scratch. It eliminates the need for demolition, reduces waste, and minimizes labor costs.
Reduced mess
Since there’s no need to remove the existing tiles, there’s less dust and debris generated during the renovation, which keeps the workspace cleaner and more organized.
Enhanced durability
Tiling over existing tiles creates a double layer of protection, potentially extending the life of your floors or walls.
Cons:
Increased height
Adding a new layer of tiles can result in increased floor or wall height, which may require adjustments to doors, trim, or fixtures.
Limited surface options
Tile over tile isn’t suitable for all types of tile surfaces. It’s essential to ensure the existing tiles are in good condition, well-bonded, and compatible with the new tiles.
Potential for future issues
Improper installation or inadequate surface preparation can lead to future problems, such as tiles becoming loose or grout cracking.
Preparation: The Key to a Successful Tile Over Tile Project
To ensure your tile over tile project goes smoothly, follow these essential preparation steps:
1. Assess the existing tiles
Ensure that the existing tiles are well-bonded, flat, and in good condition. Repair any loose or damaged tiles before proceeding.
2. Clean the surface
Remove any dirt, grease, or soap scum from the existing tiles using a suitable cleaning solution. A clean surface ensures better adhesion of the new tiles.
3. Roughen the surface
Create a rough surface on the existing tiles by using an orbital sander or a handheld grinding tool with a diamond wheel. This step provides better adhesion for the new tiles.
4. Check for moisture issues
If you’re tiling over existing tiles in a bathroom or other moisture-prone area, address any existing water damage or mold issues before proceeding.
5. Plan your layout
Measure and plan the layout of your new tiles, accounting for spacers and any necessary cuts. This step will help ensure a professional-looking result.
Techniques for Installing Tile Over Tile
Once you’ve prepared the surface, follow these techniques for a successful tile over tile installation:
Choose the right adhesive
Opt for a flexible, high-quality tile adhesive specifically designed for tile over tile applications. These adhesives typically have enhanced bonding properties to accommodate the unique challenges of this technique.
Apply the adhesive
Use a notched trowel to apply an even layer of adhesive onto the existing tiles. Be sure to work in small sections to prevent the adhesive from drying before the new tiles are installed.
Lay the new tiles
Press the new tiles firmly into the adhesive, using spacers to ensure consistent gaps between tiles. Periodically check for levelness and adjust as needed.
Cut tiles as needed
Use a tile cutter or wet saw to trim tiles that need to fit around obstacles or along edges. Remember to account for the space needed for grout when making cuts.
Allow the adhesive to dry
Follow the manufacturer’s recommendations for drying time, which typically ranges from 24 to 48 hours.
Grout the new tiles
Once the adhesive has dried, apply grout to the tile joints using a rubber grout float. Be sure to remove excess grout with a damp sponge before it dries.
Seal the grout
After the grout has cured (usually 48 to 72 hours), apply a grout sealer to protect against staining and moisture damage.
Conclusion
Tile over tile is an innovative and efficient renovation technique that can save time and money while offering a fresh new look for your floors or walls. By carefully considering the pros and cons, properly preparing the surface, and following the appropriate installation techniques, you can achieve a successful tile over tile project that will transform your space.
When it comes to giving your existing tile floors or wall tiles a fresh new look, opting for a tile over tile approach is a practical solution that saves time and money. By properly assessing the condition of your old tile, including checking for loose tiles and repairing them as necessary, you can ensure a solid foundation for your ceramic tile upgrade. Always remember to clean your existing floor tiles thoroughly, and pay close attention to grout lines and any wet surface areas that may require special attention during the drying and adhesion process.
A successful tiling job begins with careful planning and a strong understanding of the techniques involved in laying tiles. From selecting the right surface adhesive to secure loose tiles, to following the best practices for laying tile over existing flooring, each step of the process is crucial for achieving professional-looking results. Be sure to give your new tile ample time to dry before proceeding with grout work, and always take measures to protect your existing floor or wall tiles from potential damage during the installation process. With these tips and techniques in mind, you’ll be well-prepared to lay tiles over existing tile floors and walls, ensuring a long-lasting, beautiful transformation for your home.

