Creating a DIY Self-Watering Planter
Gardening enthusiasts are always on the lookout for innovative ways to care for their plants. One such innovation that has gained popularity is the DIY self-watering planter. Not only does it reduce the hassle of daily watering, but it also ensures your plants receive just the right amount of moisture they need to thrive.
In this article, we will guide you through the steps to create your own self-watering planter, an excellent project for both novice and experienced gardeners.
What is a Self-Watering Planter?
A self-watering planter is a container gardening system designed to water plants from below rather than from the top. It consists of a reservoir for water and a system that allows the soil to draw water as needed. This method is highly efficient as it reduces water wastage and provides a consistent moisture level, which is vital for healthy plant growth.
Benefits of a Self-Watering Planter
Consistent Moisture Supply
Plants get a steady supply of water, which is essential for their growth.
Time-Saving
Reduces the frequency of watering, perfect for busy individuals.
Water Efficiency
Minimizes water wastage through evaporation and runoff.
Promotes Root Growth
Encourages deep root systems as roots grow downwards seeking moisture.
Versatility
Ideal for a wide range of plants, especially beneficial for moisture-loving vegetables and herbs.
Materials Needed
- A large container (with lid)
- A smaller container (for the water reservoir)
- A wicking basket or cloth
- A drill or a sharp tool (for making holes)
- Potting soil
- Plants or seeds
Step-by-Step Guide to Making Your DIY Self-Watering Planter
Step 1: Preparing the Containers
Choose a large container that will serve as the main planter. Ensure it has a lid (this can be cut to fit inside the container to create a platform for the soil). The smaller container will act as the water reservoir. It should fit inside the larger container without taking up too much space.
Step 2: Creating the Water Reservoir
Drill a hole in the side of the smaller container, just above the bottom. This hole will allow excess water to escape, preventing waterlogging. Place this container at one end of the larger container.
Step 3: Installing the Wicking System
The wicking system is crucial as it draws water from the reservoir to the soil. You can use a wicking basket or a piece of cloth. If using a cloth, ensure it runs from the reservoir up into the main soil area.
Step 4: Adding the Soil Platform
Cut the lid of the large container to create a platform that fits inside it, sitting above the water reservoir. Drill several holes in this platform for the wicking system and roots to access the water.
Step 5: Adding Soil and Plants
Fill the container with potting soil, ensuring contact with the wicking system. Plant your seeds or plants in the soil. The wicking system will draw water up to the roots.
Step 6: Filling the Water Reservoir
Pour water into the reservoir through a hole in the soil platform or directly into the smaller container. The water level should be below the overflow hole.
Step 7: Maintenance
Regularly check the water level in the reservoir and refill as needed. The frequency will depend on the plant type and environmental conditions.
Customizing Your DIY Self-Watering Planter
Personalize Your Planter
Customization is one of the joys of DIY projects. Feel free to paint or decorate your planter to match your personal style or garden décor. Just make sure to use non-toxic paints if you’re growing edible plants.
Experiment with Sizes
The beauty of making your own self-watering planter is that you can build it in any size to fit your space. Whether it’s a small herb garden for your kitchen window or a larger planter for your patio, the basic principles remain the same.
Add Mulch
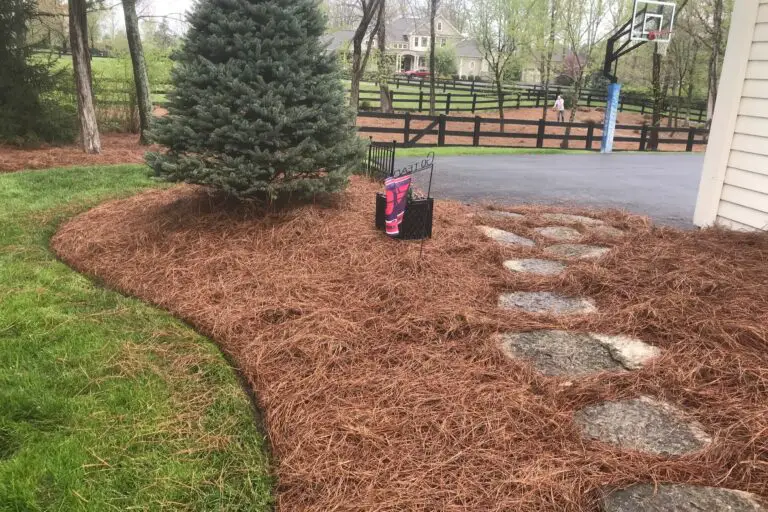
To further reduce water evaporation, consider adding a layer of mulch on top of the soil. This not only helps retain moisture but also adds to the aesthetic appeal of your planter.
Common Mistakes to Avoid
Neglecting to Check Water Levels
Even though self-watering planters reduce the need for frequent watering, neglecting to check the water levels can lead to dried out or overwatered plants.
Using the Wrong Soil Type
Avoid using garden soil as it can compact and hinder the wicking action. Opt for a lightweight, high-quality potting mix.
Overcrowding Plants
Give your plants enough space to grow. Overcrowding can lead to poor air circulation and growth issues.
Tips for Success
Choose the Right Plants
Not all plants are suitable for self-watering planters. Select those that prefer consistent moisture.
Quality Soil
Use high-quality potting soil that retains moisture and allows proper aeration.
Monitor Water Levels
Keep an eye on the water level, especially in hot weather.
Avoid Overfilling
Ensure the water level is below the overflow hole to prevent waterlogging.
Regular Maintenance
Check the system periodically for clogs or debris.
Incorporating Technology for Enhanced Efficiency
For those who enjoy technology, integrating a moisture sensor into your DIY self-watering planter can add an extra layer of precision. These sensors can alert you when the water reservoir needs refilling, ensuring your plants always have the right amount of water.
Environmental Impact and Sustainability
Using a self-watering planter is not just beneficial for your plants, but it’s also a step towards sustainable gardening. By reducing water usage and providing an optimal growing environment, you’re contributing positively to the environment. Moreover, by repurposing containers for your planters, you’re engaging in recycling, which is always beneficial for the planet.
Expanding Your Self-Watering System
Once you’re comfortable with your DIY self-watering planter, consider expanding your system. You can create multiple planters for different types of plants, each tailored to the specific needs of the plants it houses. This can be a fun and rewarding way to enhance your gardening experience.
Conclusion
DIY self-watering planters are an exceptional choice for both indoor and outdoor gardening enthusiasts. By incorporating a customized self-watering planter into your gardening routine, you ensure that your plant roots receive optimal hydration without the constant need for attention. Whether you’re using self-watering pots or containers, the integration of a perforated drain pipe and a watering tube in your watering planter DIY project helps maintain the perfect moisture balance. This setup is especially beneficial for those who adore indoor plants but struggle with regular watering schedules.
The self-watering container design, complete with drainage holes, not only simplifies plant care but also adds an element of style to your home or garden. The adaptability of a self-watering pot allows gardeners to tailor their gardening solutions to specific plant needs. The beauty of a self-watering system lies in its versatility, making it suitable for a wide range of plant types, from herbs and vegetables to ornamental flowers.
The use of plastic pots in these self-watering systems offers a lightweight and durable option, perfect for any setting. By embracing the concept of a self-watering container, gardeners can enjoy the convenience of a low-maintenance, efficient watering system that ensures their plants thrive with minimal effort. This makes DIY self-watering planters an ideal solution for gardeners seeking a balance between functionality and aesthetics in their plant care practices.


