How To Build DIY Countertops on a Budget
Building a countertop can seem daunting, especially if you’re on a budget. However, with some careful planning and a little bit of elbow grease, you can craft a beautiful, functional countertop that won’t break the bank. Here’s a step-by-step guide on how to do it.
1. Plan Your Space
Before you start, measure the space where you want the countertop to be. Sketch a rough design, considering both the aesthetic you want and the functionality you need. Remember to account for appliances or sinks if they’ll be integrated into the countertop.
2. Choose Your Material
On a tight budget, granite or quartz might not be feasible. But there are plenty of budget-friendly options that still offer durability and style:
- Plywood and Laminate: Plywood is a strong base that you can easily cover with laminate sheets to mimic the look of pricier materials.
- Butcher Block: Made of straight cuts of wood glued together into thick slabs, butcher blocks are sturdy and offer a warm, rustic charm.
- Concrete: Industrial chic and ultra-durable, concrete can be tinted or textured to fit your design needs.
- Tiled Countertops: Ceramic or porcelain tiles can be cost-effective, especially if you have some leftovers from previous projects.
3. Gather Your Supplies
Once you’ve settled on your material, gather all the necessary tools and supplies. Basic items you might need include:
- Saw (for cutting material to size)
- Sandpaper (for smoothing surfaces)
- Adhesive (specific to your countertop material)
- Sealant (to protect the surface)
4. Preparation
Safety first! Clear your workspace and ensure you have safety goggles and gloves. Remove the old countertop if there’s one. Prep the base by ensuring it’s level – this will make the installation process smoother.
5. Constructing the Countertop
Here’s a brief overview based on material:
- Plywood and Laminate: Cut the plywood to your desired shape and size. Sand the edges to ensure they’re smooth. Once ready, apply adhesive to the plywood and carefully lay down the laminate sheet. Trim any excess.
- Butcher Block: These usually come pre-made. Cut to size, sand the edges, and seal with food-safe sealant.
- Concrete: Create a mold out of melamine-coated particleboard in the shape of your countertop. Mix the concrete according to instructions and pour into the mold. Allow it to cure for the time specified, then remove from the mold and sand any rough edges. Seal with a concrete sealer.
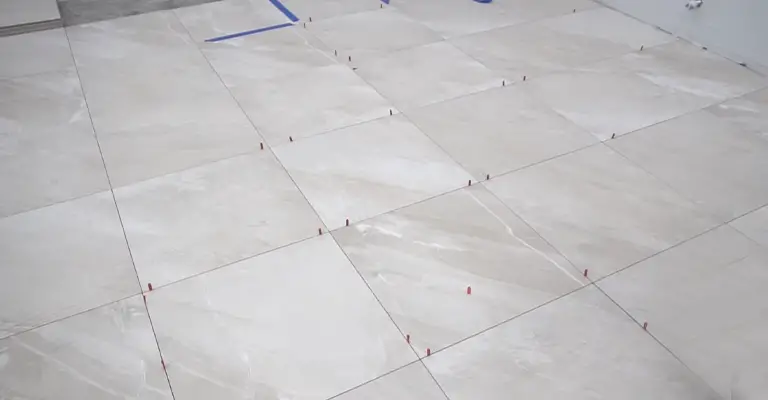
- Tiled Countertops: Install a plywood base, then add a layer of cement board. Arrange your tiles atop this in the desired pattern, using tile spacers. Once satisfied, use thin-set mortar to set the tiles. After 24 hours, apply grout between tiles.
6. Finishing Touches
After installing your countertop, you might want to add some finishing touches:
- Edge banding for laminate countertops to hide the plywood underneath.
- Sealing, especially for porous materials like concrete or butcher block.
- Backsplashes which can be made from the same material or a contrasting one for added flair.
7. Maintenance
Your DIY countertop will last longer if you treat it well. Clean up spills promptly, avoid placing hot pots directly on the surface (unless it’s a material like granite), and reseal surfaces as recommended.
In Conclusion
Building your own countertop can be a rewarding project that saves money and adds a personal touch to your kitchen or bathroom. With careful planning, the right materials, and a bit of hard work, you can have a beautiful countertop that serves you well for years to come. Happy building!

