Bathtub Caulk: Everything You Need to Know
Bathtubs are an essential part of our homes, providing a sanctuary for relaxation after a long day. Yet, even the most luxurious bathtub can be rendered unsightly or even non-functional if not properly sealed with the right bathtub caulk.
Caulk not only ensures water doesn’t seep into places it shouldn’t, but it also gives your bathroom a polished, finished look. In this guide, we’ll dive deep into the world of bathtub caulk, its importance, and tips for selecting and applying it effectively.
What is Bathtub Caulk?
Bathtub caulk is a sealant used to fill gaps between the bathtub and surrounding tiles or walls. Typically made from silicone or latex, caulk prevents water from seeping behind the tub or tiles, which could lead to mold growth, wall damage, or other moisture-related issues.
Why is Bathtub Caulk Important?
Moisture Protection
The primary role of caulk is to provide a watertight seal, protecting underlying structures from water damage. By doing so, it prevents potential mold and mildew buildup, protecting your family’s health.
Aesthetics
When applied neatly, caulk gives your bathtub a seamless appearance, creating a clean line between the tub and the surrounding walls or tiles.
Increased Longevity
Properly applied caulk can extend the life of your bathroom fixtures by preventing early deterioration due to water damage.
Choosing the Right Caulk for Your Bathtub
The market is flooded with different caulking options. Here’s what you should consider:
Material
Silicone caulk is often preferred for bathrooms because it’s waterproof and mold-resistant. It tends to last longer than other types, but it’s harder to paint over. Latex caulk, on the other hand, is easier to work with and can be painted, but may not last as long in high-moisture environments.
Cure Time
Some caulk types might take longer to dry, so consider how long you can leave the area undisturbed before choosing.
Color
While white is the most common, caulk is available in various colors to match your bathroom décor. Some caulks are also paintable, offering more customization options.
Mold and Mildew Resistance
Opt for caulk that specifies its resistance to mold and mildew, especially for high-humidity areas like the bathroom.
Application Tips for a Perfect Finish
Preparation is Key
Before applying new caulk, ensure the area is clean, dry, and free from old caulk or debris. Use a caulk remover or a scraper for this.
Choose the Right Tool
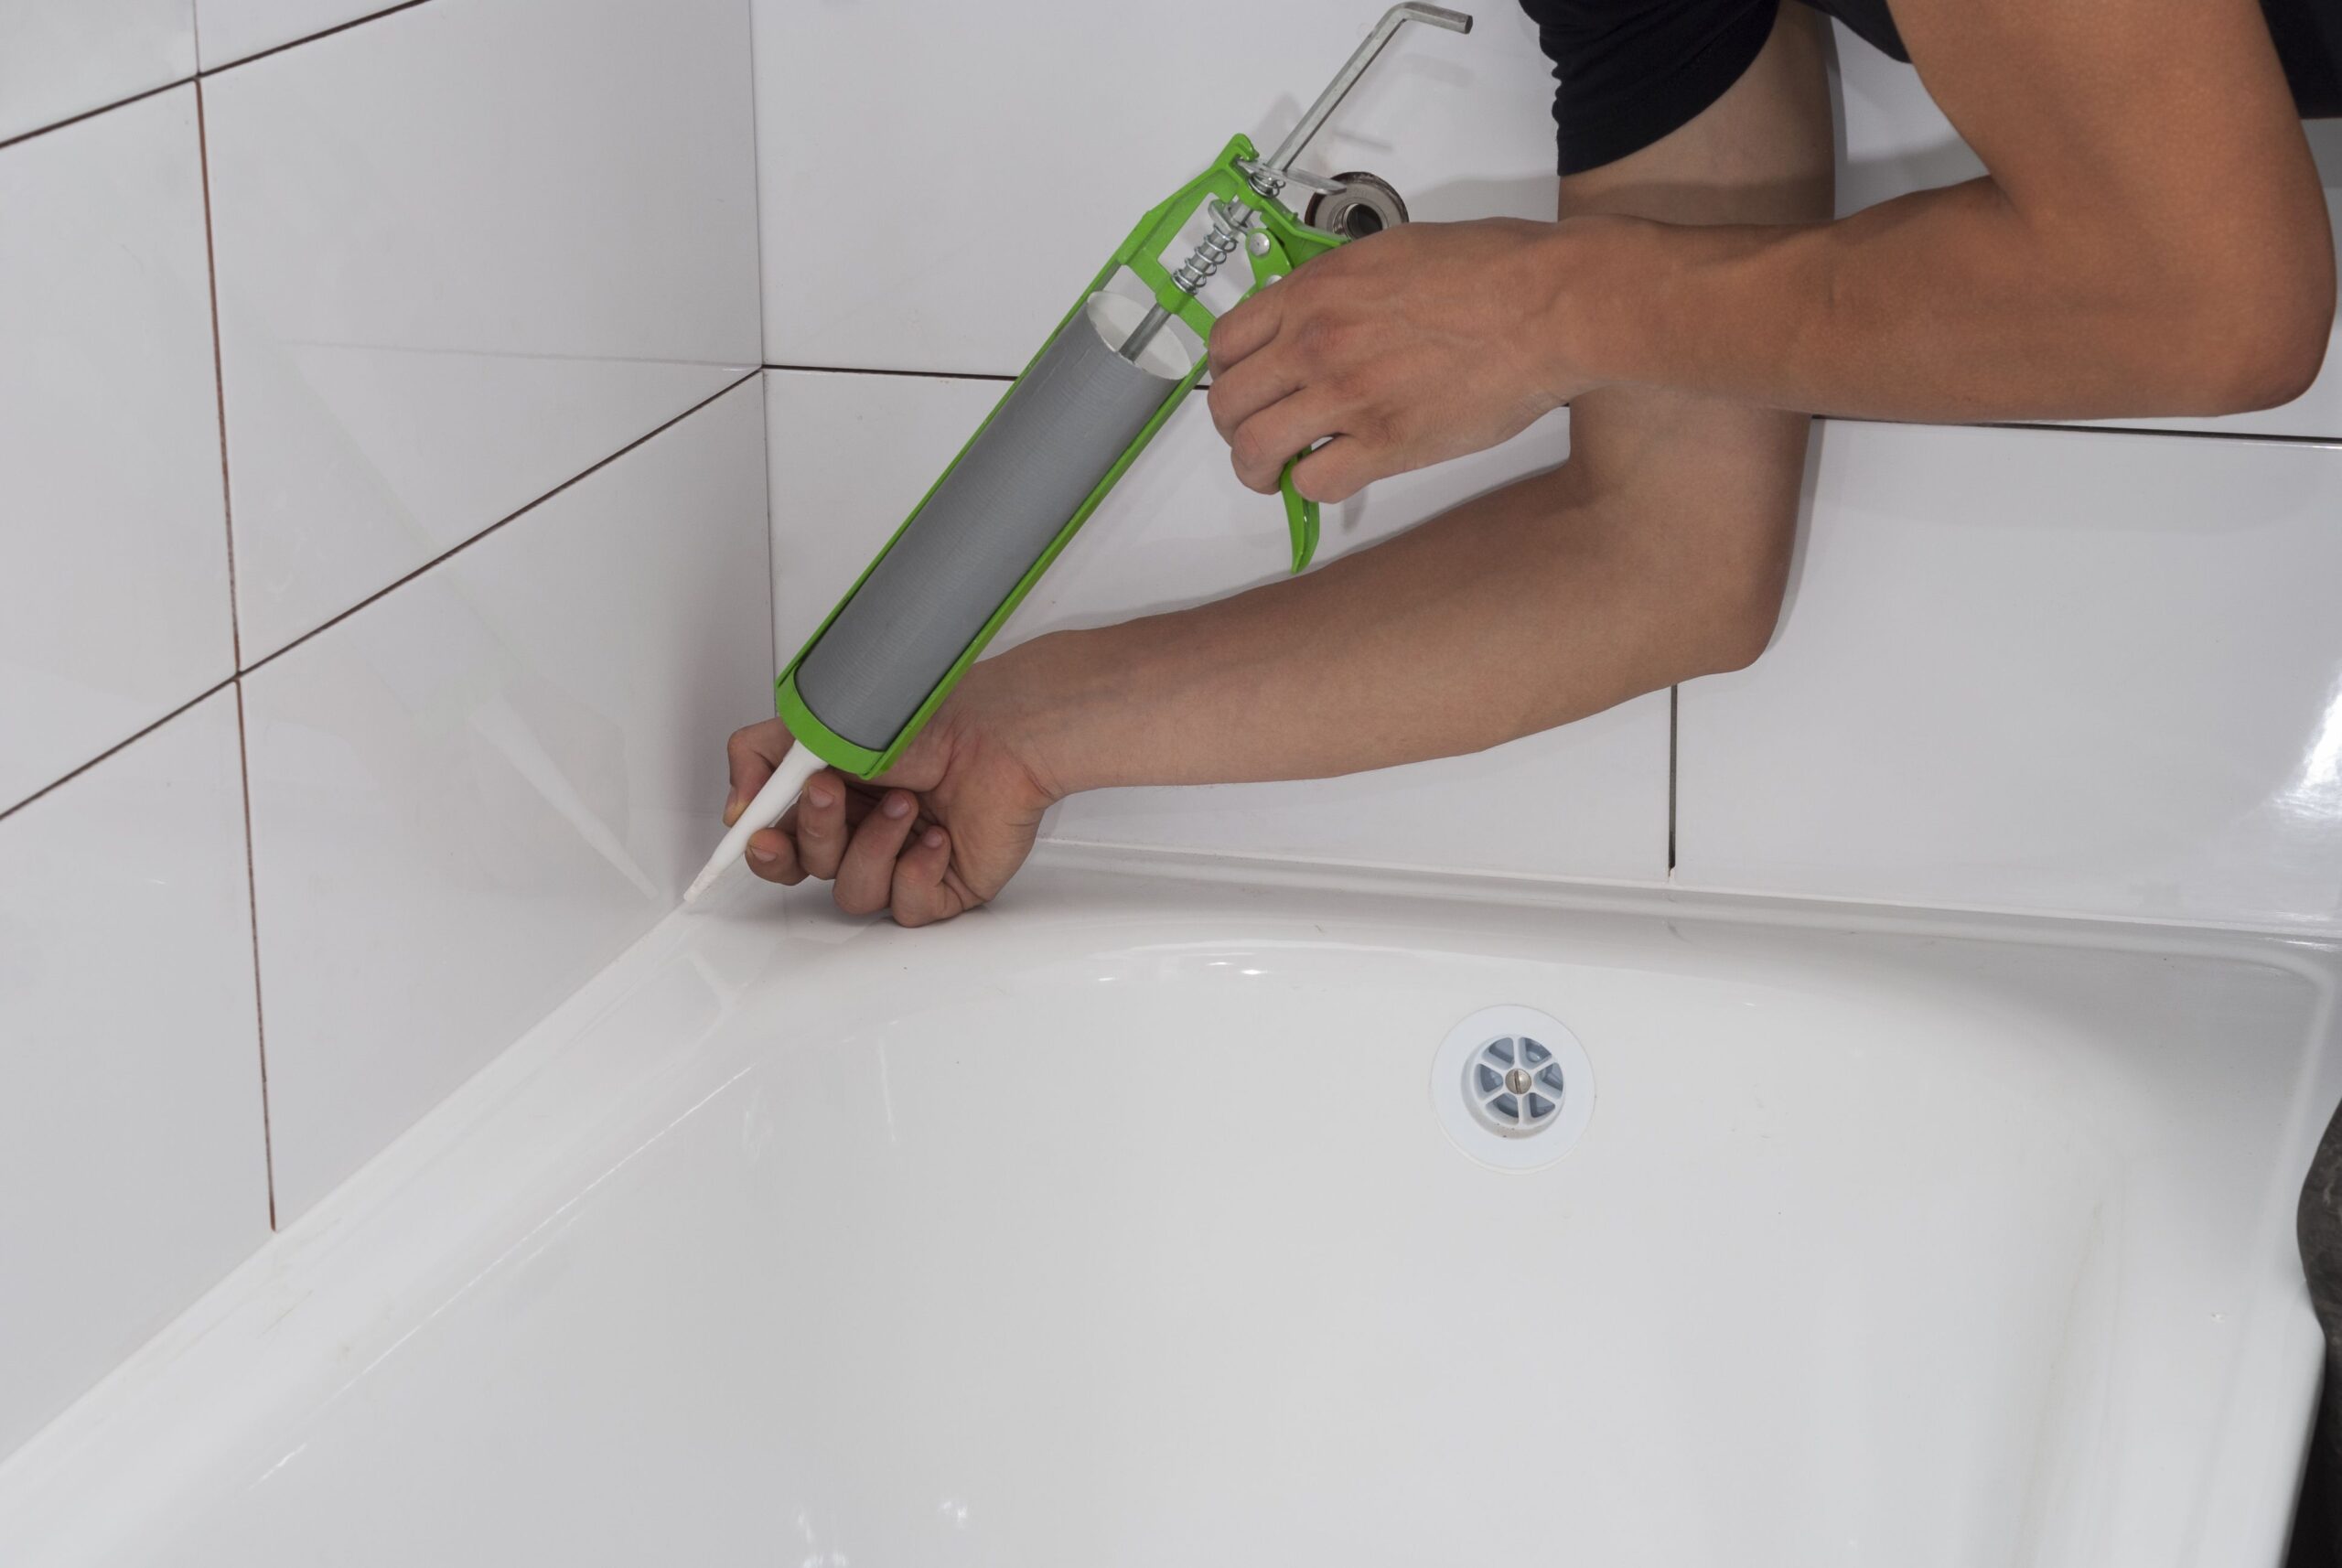
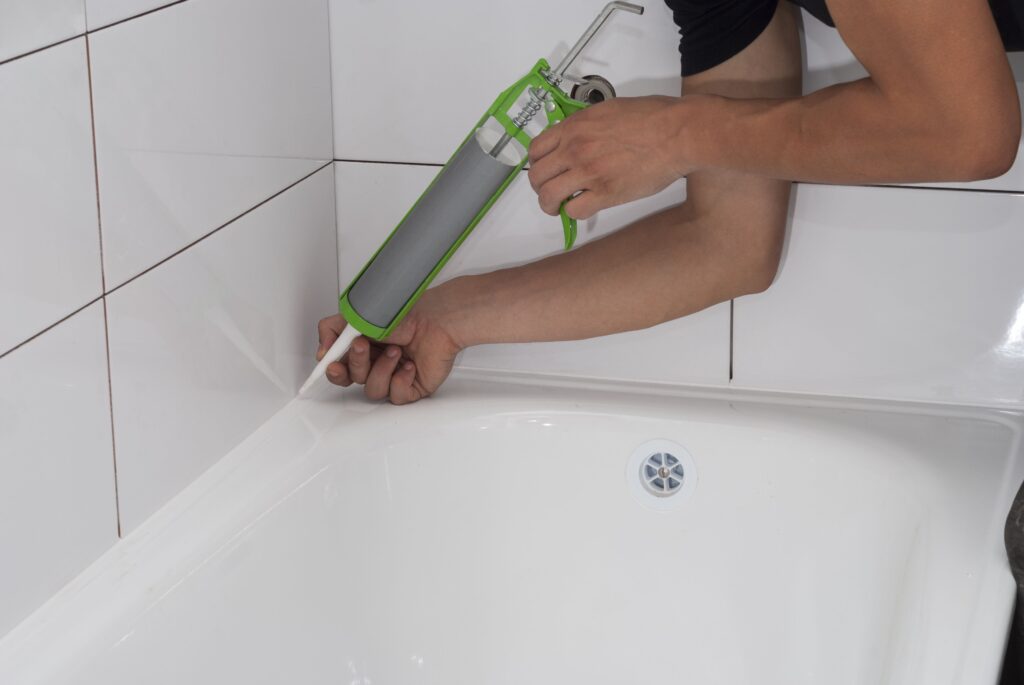
While many caulking tubes come with a built-in applicator, you might consider investing in a caulk gun for more precision.
Smooth the Caulk
After application, smooth the caulk line with a caulk-smoothing tool or your fingertip (with soapy water to prevent sticking) to ensure a neat finish.
Cure Properly
Follow the manufacturer’s instructions regarding drying time. Avoid using the bathtub or shower until the caulk is fully cured.
Maintenance and Replacement
Over time, bathtub caulk may discolor, shrink, or lose its seal. Regularly inspect the caulk line for signs of wear or damage. If you notice gaps, mold, or mildew, it’s time to remove the old caulk and reapply. Regular cleaning and using bathroom-appropriate cleaners can also prolong the lifespan of your bathtub caulk.
Innovations in Caulking
The world of caulk has seen numerous innovations. Today, you can find products that offer quicker drying times, enhanced mold resistance, and even caulk that changes color when it’s dry. As homeowners become more conscious of the products they use, companies are also working on producing more environmentally-friendly options.
Frequently Asked Questions About Bathtub Caulk
1. Can I apply new caulk over old caulk?
While it might be tempting to caulk over the existing layer, it’s not recommended. The new layer might not adhere well, leading to premature peeling or water seepage. Always remove old caulk, clean the surface thoroughly, and dry it before applying a new layer.
2. How often should I replace bathtub caulk?
The durability of caulk varies based on its type and the conditions of your bathroom. However, on average, you should inspect and potentially replace your bathtub caulk every 5 years. Factors like constant water exposure or the use of harsh cleaning agents can reduce its lifespan.
3. Are there eco-friendly caulking options?
Yes, there are eco-friendly caulking options available that emit lower levels of volatile organic compounds (VOCs). These caulks are better for the environment and can also be beneficial for those with respiratory issues or sensitivities.
4. I’ve noticed black spots on my caulk. What are they?
Black spots on caulk are often signs of mold or mildew. They thrive in moist environments and can become health hazards if not addressed. If mold or mildew appears, it’s best to remove the affected caulk, clean the area with a mold-killing solution, and re-caulk.
5. Can I caulk my bathtub myself, or should I hire a professional?
Caulking a bathtub is a DIY-friendly project, especially with the myriad of resources and tutorials available. However, if you’re uncertain about the process or seek a flawless finish, hiring a professional might be a good idea.
Wrap-Up
When faced with excess caulk after your DIY project, a simple utility knife or razor scraper becomes indispensable. These tools ensure that your bathroom caulk application looks professional and neat, eliminating the need for a caulking gun if you’re only dealing with minor touch-ups. Whether you’re working with a caulk tube for a fresh application or removing preexisting caulk with a putty knife, the key is to ensure a seamless blend between the bathtub and the tiles. Siliconized latex caulk is often a top choice for this, offering a balance between flexibility and adhesion.
Furthermore, when working on your shower caulking, always prioritize the removal of old or moldy caulk. The presence of existing caulk can interfere with the adhesion of new layers, leading to potential moisture problems down the road. A paper towel or lint-free rag can be helpful in cleaning up any residue, ensuring a pristine surface ready for the new application.
Lastly, achieving that perfect finish with bathroom caulking isn’t as daunting as it may seem. Many homeowners swear by the classic trick of running a wet finger over the freshly applied caulk line to smooth it out. However, regardless of the method chosen, using the best caulk and the right tools will make all the difference in achieving a professional and lasting finish. Remember, a well-maintained bathroom not only looks good but also saves future repair costs.

