DIY Mirror Frame: An Elegant Touch to Your Space
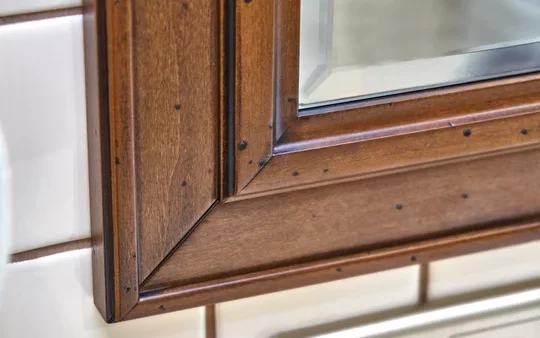
Have you ever considered adding a charming touch to your home décor by crafting a DIY mirror frame? A DIY mirror frame is not just a functional piece, it can also serve as an artistic element that brings life to any corner of your home. It provides an opportunity to put your personal touch on your space, and it’s a fantastic way to recycle old materials, or showcase some beautiful new ones.
This guide walks you through each step, allowing you to craft an exquisite DIY mirror frame that adds character to any corner of your home. Prepare to turn ordinary into extraordinary as you dive into the world of DIY mirror frame creation.
What You Need to Know Before You Start
DIY Mirror Frame Ideas
Before starting your DIY mirror frame project, you need to decide on the style that will best complement your space. Be it rustic, modern, vintage or abstract – the possibilities are endless. Choose a design that fits with your overall home décor theme.
Now, let’s discuss the materials you need. Generally, you will require a mirror, a backing material (like plywood), your choice of frame material (could be wood, tiles, or even seashells), glue, paint, and some basic tools like a saw and a drill. Always remember, safety first! Wear goggles and gloves while handling sharp or rough materials and tools.
The Step-by-Step Process of Crafting Your DIY Mirror Frame
Bathroom Mirror
Step 1: Sizing and Cutting
Measure the dimensions of your mirror and cut the backing material to fit. Then, cut your frame material into four pieces to match the mirror’s dimensions, allowing extra length for overlap at the corners.
Step 2: Designing Your Frame
This is the part where your creativity comes into play. Paint, varnish, or decorate your frame pieces according to the style you have chosen.
Step 3: Assembling Your Frame
Use strong adhesive or a drill to attach the frame pieces to the edges of the backing material. Be sure to align them correctly before they dry or set.
Step 4: Attaching the Mirror
Once the frame is securely attached, you can now affix the mirror to the backing. Use mirror adhesive for a secure bond and let it dry completely.
Step 5: Finishing Touches
After everything has dried, check for any rough edges or loose parts. This is the time to add any additional decorations, such as glitter or ornamental trim, to make your DIY mirror frame truly stand out.
The Benefits of a DIY Mirror Frame
DIY Bathroom Mirror Frame
Creating your DIY mirror frame doesn’t just satisfy your creative itch, it also offers various benefits.
Cost-Effective
It’s often cheaper to create your own frame rather than buying a pre-made one, especially if you have materials on hand that you can upcycle.
Personalized
When you craft your own mirror frame, you have complete control over the design. This means you can tailor it perfectly to your personal style and space.
Eco-Friendly
Upcycling materials not only helps your wallet, it’s also a great way to reduce waste and be kinder to our planet.
Satisfaction
Last but certainly not least, there’s a unique sense of achievement and satisfaction in completing a DIY project. You’ll have a beautiful, functional piece to show off that you made with your own two hands.
Useful Tips for Maintaining Your DIY Mirror Frame
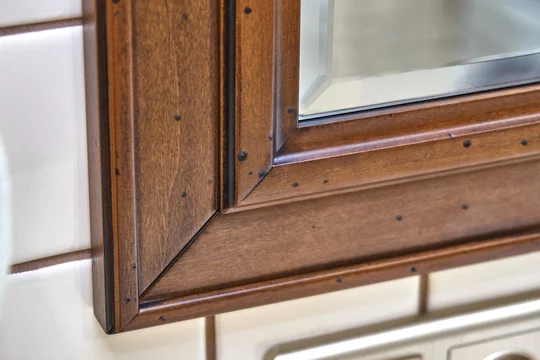
Wood Glue and Wooden Frame
Now that you have your DIY mirror frame ready, it’s essential to take good care of it to ensure it maintains its charm over time. Here are a few quick tips:
Clean Gently
Use a soft cloth and mild cleaning agents to keep the mirror sparkly clean. Avoid abrasive cleaners, as they can scratch your mirror and frame.
Check Regularly
Regularly check the frame and backing for any signs of wear and tear. A quick repair now can prevent bigger problems down the line.
Refresh When Needed
If your frame starts to look a little dull, don’t be afraid to give it a fresh coat of paint or varnish. It’ll bring the frame back to life and keep it looking its best.
Conclusion
DIY Framed Mirror
As you bask in the glow of your newly created masterpiece, consider the myriad possibilities a plain mirror can offer. Your once builder-grade mirror, with its simple mirror clips, has transformed into a stunning piece of art suitable for your master bathroom or even a stunning gallery wall. The brilliance of your DIY mirror frame will not only add aesthetic value but also strategically reflect light around your space, contributing to an inviting and spacious feel.
When designing your DIY mirror frame, remember that small mirrors can be just as impactful. Use a tape measure to measure easily and accurately, ensuring your frame will sit flush against the edge of the mirror. Currently, upcycling with materials like reclaimed wood pieces is all the rage. Attach them with a strong adhesive like liquid nails, ensuring they sit along the outside edge of your mirror. Choose a paint color that complements your décor or go for an antiqued look for a vintage charm. Regardless of the route you choose, your DIY mirror frame is certain to enhance the uniqueness and appeal of your living space.
Small Mirror Easily
In the end, crafting a DIY mirror frame is a rewarding project that lets you add a personal touch to your living space. Whether you’re a seasoned DIY enthusiast or a newbie looking for a fun and fulfilling project, creating a mirror frame can be a fantastic experience.
Not only does it allow you to express your style and creativity, but it also serves a functional purpose, enhances your home decor, and can even make a great gift for loved ones. Plus, every time you glance at your reflection, you’ll also see a reminder of your ingenuity and craftsmanship. So, gather your tools and materials and let your creativity flow as you embark on your DIY mirror frame journey. The possibilities are as endless as your imagination!

