How to Clean Air Fryer: A Step-by-Step Guide
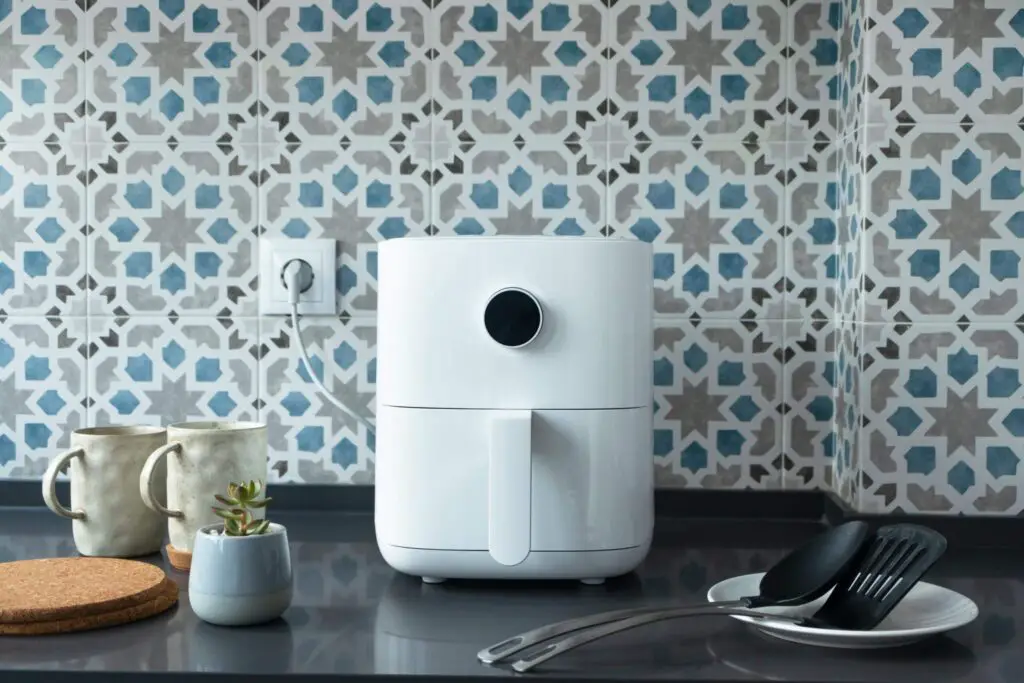
Air fryers have become a popular kitchen appliance for those who want to enjoy their favorite fried foods in a healthier way. However, like any other kitchen appliance, air fryers require regular cleaning to maintain their performance and longevity. Cleaning an air fryer may seem daunting, but with the right tools and techniques, it can be a quick and easy process.
To begin cleaning an air fryer, it is important to unplug the appliance and allow it to cool down completely. Once it has cooled, the removable parts such as the basket and tray can be removed and washed with warm soapy water. It is important to avoid using abrasive sponges or harsh chemicals that could damage the non-stick coating.
1. Preparation for Cleaning
Unplugging and Cooling Down
Before cleaning your air fryer, make sure it is unplugged and has cooled down completely. This is important to avoid any potential electric shocks or burns while cleaning. It is recommended to wait at least 30 minutes after use before beginning the cleaning process.
Gathering Cleaning Materials
To clean your air fryer, you’ll need a few basic cleaning materials. These include a soft sponge or cloth, dish soap, warm water, and a non-abrasive brush. It is important to avoid using harsh chemicals or abrasive materials, as they can damage the non-stick coating of your air fryer.
Start by removing any excess oil or food particles from the air fryer basket and tray. Use a soft sponge or cloth to wipe away any remaining residue. Then, fill the sink with warm water and a few drops of dish soap. Soak the basket and tray in the soapy water for at least 10 minutes.
After soaking, use a non-abrasive brush to gently scrub the basket and tray. Pay special attention to any hard-to-reach areas or stubborn stains. Rinse the basket and tray thoroughly with warm water and dry them with a soft cloth.
By following these simple steps, you can keep your air fryer in top condition and ensure it lasts for years to come.
2. Cleaning the Main Components
Basket and Pan
The basket and pan are the most frequently used components of an air fryer. To clean them, start by removing the basket and pan from the air fryer and letting them cool down. Then, use a soft sponge or cloth to wipe away any excess oil or food residue. For tough stains, mix a small amount of dish soap with warm water and use a non-abrasive sponge to scrub the basket and pan. Rinse thoroughly with water and dry with a clean cloth.
Heating Element
The heating element is an essential component of the air fryer that requires regular cleaning. To clean it, first, unplug the air fryer and let it cool down completely. Then, use a soft-bristled brush or a dry cloth to remove any loose debris or food particles from the heating element. For stubborn stains, mix a small amount of baking soda with water to form a paste, and apply it to the heating element. Let it sit for a few minutes before wiping it away with a damp cloth.
Interior Surfaces
The interior surfaces of an air fryer can accumulate grease and food particles over time, which can affect the quality of the food and the lifespan of the appliance. To clean the interior surfaces, first, unplug the air fryer and let it cool down. Then, use a soft sponge or cloth to wipe away any excess oil or food residue. For tough stains, mix a small amount of dish soap with warm water and use a non-abrasive sponge to scrub the interior surfaces. Rinse thoroughly with water and dry with a clean cloth.
Overall, cleaning the main components of an air fryer is essential for maintaining the appliance’s performance and lifespan. By following these simple steps, you can ensure that your air fryer remains clean and in good condition for years to come.
3. Reassembling the Air Fryer
After cleaning the different parts of the air fryer, it is time to reassemble it. This process is straightforward and easy to follow.
The first step is to slide the basket back into the air fryer. Make sure it is properly aligned and securely in place. Next, attach the fryer basket handle to the basket. It should click into place, indicating that it is properly secured.
Then, place the pan back into the air fryer. Ensure that the pan is correctly positioned and that it fits snugly into the air fryer.
After that, attach the air fryer drawer to the front of the air fryer. The drawer should slide in easily, and the release button should click into place, locking the drawer in position.
Finally, plug the air fryer back in and turn it on to ensure that everything is working correctly.
It is important to note that before reassembling the air fryer, all parts must be completely dry. Any residual moisture can cause damage to the air fryer’s electrical components.
Overall, reassembling the air fryer is a simple and quick process that can be completed in just a few minutes. By following these steps, users can ensure that their air fryer is clean, functional, and ready to use.
Maintaining Your Air Fryer
Regular Maintenance Tips
To keep your air fryer in top condition, it’s important to clean it regularly. After each use, make sure to wipe down the interior and exterior with a damp cloth. If there are any stubborn stains, use a non-abrasive sponge and mild dish soap to gently scrub them away. Be sure to dry the air fryer thoroughly before using it again.
In addition to wiping down the air fryer after each use, it’s also important to clean the removable parts. Most air fryers come with a removable basket and tray, which can be washed in the sink with warm, soapy water. Be sure to dry the parts thoroughly before reassembling them.
Dealing with Tough Stains
If you encounter tough stains on your air fryer, there are a few different methods you can try. For grease stains, mix equal parts baking soda and water to create a paste. Apply the paste to the stain and let it sit for 10-15 minutes before wiping it away with a damp cloth.
For burnt-on food, fill the air fryer with hot water and a few drops of dish soap. Let the water sit for 10-15 minutes to loosen the food particles, then use a non-abrasive sponge to scrub away the residue.
If you’re dealing with stubborn stains that won’t come off with traditional cleaning methods, try using a vinegar solution. Mix equal parts white vinegar and water and use a spray bottle to apply the solution to the stain. Let it sit for a few minutes before wiping it away with a damp cloth.
By following these regular maintenance tips and dealing with tough stains as they arise, you can keep your air fryer in top condition for years to come.
Frequently Asked Questions (FAQs)
Q: How often should I clean my air fryer?
A: It’s best to clean your air fryer after each use to remove oil and food residues. A deeper cleaning should be done every few uses, depending on how frequently you use it.
Q: Can I put my air fryer’s removable parts in the dishwasher?
A: Many air fryers have dishwasher-safe parts, such as the basket and tray. Check your air fryer’s manual to ensure these parts are dishwasher-safe before cleaning.
Q: What should I use to clean the inside of my air fryer?
A: For the interior, use a soft sponge or cloth dampened with warm, soapy water. Avoid using abrasive sponges or harsh chemicals that could damage the non-stick coating.
Q: How do I remove baked-on food from my air fryer?
A: Soak the basket and pan in hot, soapy water for a few minutes. Use a non-abrasive sponge or brush to gently scrub away the residue.
Q: Can I use a commercial oven cleaner on my air fryer?
A: It’s not recommended to use commercial oven cleaners as they can be too harsh for the air fryer’s surfaces. Stick to mild dish soap and warm water.
Conclusion
Keeping your air fryer clean is essential for ensuring its longevity and performance. When you clean an air fryer regularly, you prevent the buildup of baked on grease and leftover food particles, which can impair its functionality. Unlike a deep fryer, an air fryer’s design is typically simpler to clean, especially if it features a nonstick coating. For daily cleaning, wiping the air fryer baskets with a paper towel after use can effectively remove oil and debris.
This simple step ensures that your next cooking experience is as efficient and hygienic as the last. In addition to daily wiping, using air fryer liners can be a game-changer in maintaining cleanliness. These liners act as a barrier, catching drips and splatters, and significantly reducing the effort needed to clean an air fryer after cooking. Remember, while it’s tempting to rely solely on liners, they should not replace regular cleaning.
For a thorough cleaning, focus on removing any stubborn grease and ensuring that no food residue is left behind. This practice not only extends the life of your air fryer but also maintains the quality and taste of the food you prepare. With these tips on how to clean an air fryer, you’re set to enjoy the benefits of healthier, hassle-free cooking for years to come.

