How to Fit Skirting Boards

Are you ready to transform your home with a touch of elegance? Fitting skirting boards is a DIY project that can make a difference in interior decor. These decorative mouldings cover unsightly gaps between your walls and floors and add a polished finish to any room. This comprehensive guide will walk you through the step-by-step process of fitting skirting boards like a pro.
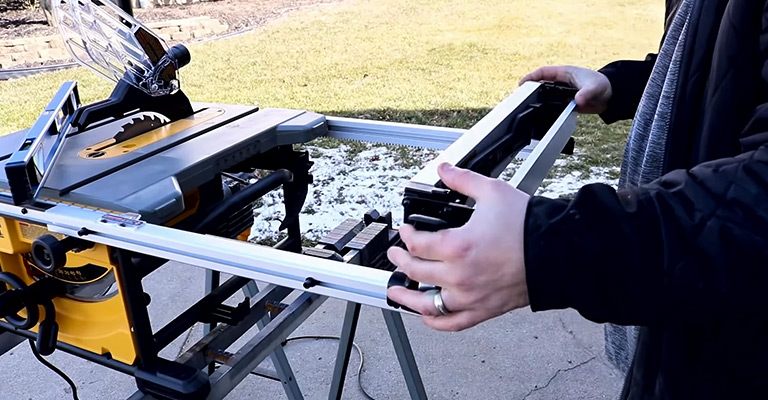
You’ll need a few essential tools: a trusty mitre saw and jigsaw for precise cuts, a trusty pencil for marking, a reliable tape measure for accuracy, and grab adhesive to ensure a strong bond. A hammer will come in handy for securing the boards in place, and you can use pins or a nail gun if you have one for added stability.
Whether you’re a seasoned DIY enthusiast or a novice looking to enhance your home, this guide will equip you with the knowledge and skills to confidently tackle skirting board installation. Let’s get started on this transformative journey!
Step 1: Measure and Mark
Accurate measurements are the cornerstone of a successful skirting board installation. Begin by using your tape measure to measure the length of each wall where you intend to install skirting boards. Mark these measurements clearly on your skirting boards using a pencil, ensuring you account for any corners, angles, or irregularities in the walls.
Precise measurements are crucial for achieving seamless joints and a professional finish. Take your time during this step, as any inaccuracies can lead to misfitting skirting boards and unsightly gaps.
Ensure that you have a clear plan and understand how the skirting boards will align with each other, especially at corners and joints. Accurate measurements and markings will lay the foundation for a smooth and aesthetically pleasing installation.
Step 2: Make Precise Cuts
With your measurements and markings in place, it’s time to make precise cuts in your skirting boards. Utilise your mitre saw and jigsaw to execute these cuts with care and accuracy. The mitre saw is essential for creating perfectly angled cuts, ensuring that your skirting boards fit together seamlessly, especially at corners.
When operating the jigsaw, select the appropriate blade for the material and cut type. Ensure that your cuts are clean and follow the marked lines precisely. Pay special attention to corners and joints, as these areas require meticulous cutting for a professional appearance.
Remember that practice makes perfect, so if you’re new to using these tools, consider practising on spare pieces of skirting board before tackling the actual installation. This practice will help you develop the necessary skills for precision cutting.
Step 3: Apply Grab Adhesive
Once you’ve cut your skirting boards to the required lengths and angles, it’s time to apply grab adhesive to the back of each board. This adhesive will create a strong and lasting bond between the skirting boards and the wall. To apply the adhesive effectively:
Start at one end of the skirting board and run a continuous bead of adhesive along its length. Be generous with the adhesive, but avoid excessive amounts that may squeeze out when you press the board against the wall.
Ensure that the adhesive covers the entire surface that will make contact with the wall. Adequate coverage is essential for a secure attachment.
When applying the adhesive, work quickly but carefully, as some adhesives can set rapidly. It’s a good practice to apply adhesive to one board at a time to ensure proper alignment and attachment.
Grab adhesive is preferred for skirting board installation because it provides a robust bond and eliminates the need for visible fixings like nails or screws, resulting in a cleaner and more polished finish.
Step 4: Position and Secure the Boards
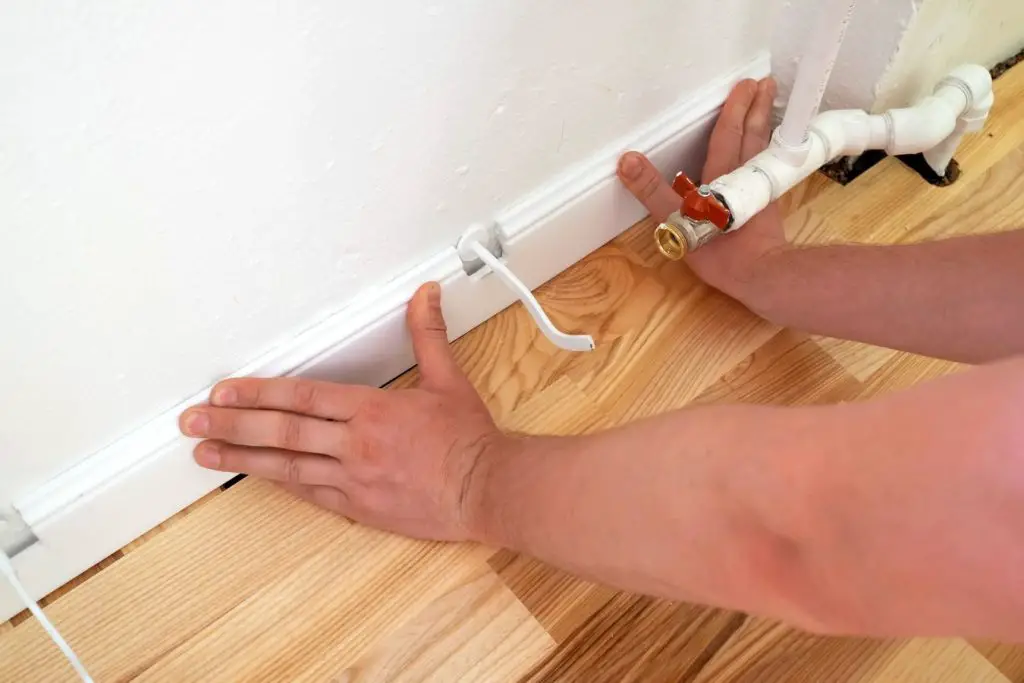
With adhesive applied to the back of your skirting boards, carefully position them against the wall, ensuring that they align with your pre-marked measurements and markings. Start at one end of the wall and work your way along its length, pressing the skirting boards firmly into place.
Use a hammer to gently tap the skirting boards, ensuring that they are flush against the wall and securely attached. Check for levelness as you go, using a spirit level to ensure that the boards are straight and not tilted.
For corners and joints, pay close attention to their alignment. Properly fitted skirting boards should meet at corners with seamless joints, without any visible gaps or overlaps.
Continue this process along the entire length of each wall where you’re installing skirting boards. The grab adhesive will hold the boards in place, but the initial securing with a hammer is essential for immediate stability.
Step 5: Nail or Pin in Place
For added stability and to ensure a secure attachment while the adhesive sets, you can use either a nail gun or pins to further secure the skirting boards to the wall. Here’s how to proceed with each option:
Using a Nail Gun: If you have a nail gun, it can be a convenient and efficient way to secure the skirting boards. Load the appropriate nails into the gun and drive them through the skirting boards and into the wall at regular intervals. Ensure that the nails are long enough to penetrate both the skirting board and into the wall for a strong hold. (learn more about how to use a nail gun)
Using Pins: If you don’t have a nail gun, you can use pins (sometimes called panel pins) to secure the boards. Insert pins at intervals along the length of the skirting board, ensuring they penetrate the board and securely anchor it to the wall. Be sure to countersink the pins slightly below the surface of the skirting board to create a smooth surface for finishing.
While using a nail gun or pins is optional, it can provide added stability and peace of mind, especially in high-traffic areas or if you anticipate the boards may be subject to movement.
Step 6: Fill and Sand
After securing the skirting boards, it’s time to inspect the installation for any imperfections or gaps. Even with careful measuring and cutting, there may be small discrepancies or nail holes that need attention. Here’s how to address them:
Gap Filling: If you notice any gaps between the skirting boards and the wall or at joints, use a suitable wood filler to fill these gaps. Apply the filler with a putty knife, ensuring it is level with the surface of the skirting board. Allow the filler to dry according to the manufacturer’s instructions.
Nail Hole Filling: If you used nails or pins to secure the skirting boards, you may have visible nail holes. Apply wood filler to these holes, again ensuring that the filler is flush with the skirting board’s surface. Allow it to dry completely.
Once the filler is dry, sand the skirting boards to create a smooth and even surface. Sanding not only removes any rough edges or excess filler but also prepares the surface for painting or finishing.
Step 7: Finish and Paint
The final step in your skirting board installation journey is to finish and paint the boards to complement your room’s decor. Follow these steps for a professional finish:
Sanding: Before painting, give the skirting boards a final sanding to ensure a smooth and even surface. Use a fine-grit sandpaper for this purpose.
Priming (if needed): It may be necessary to apply a primer depending on the type of skirting boards and paint.Primer helps the paint adhere better and provides a consistent base colour. Follow the manufacturer’s recommendations for primer application.
Painting:
- Apply your chosen paint colour to the skirting boards.
- Use a brush or roller, depending on your preference and the size of the boards.
- Apply paint evenly and with smooth strokes, following the wood grain for a polished look.
Multiple Coats: For better coverage and finish, apply multiple coats of paint. Wait for each coat to dry completely before applying the next.
Touch-Ups: After the paint has dried, inspect the skirting boards for any touch-ups needed. Address any areas that may have been missed or require additional paint.
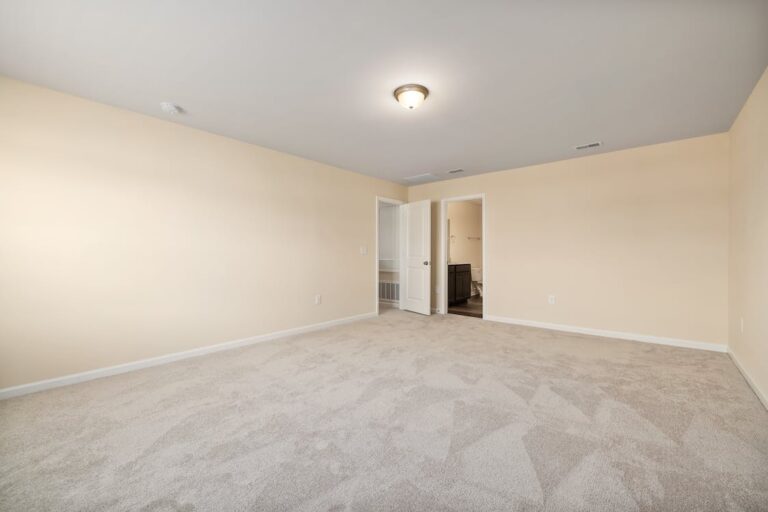
With the painting complete, your skirting boards will not only enhance the aesthetics of your room but also provide a protective barrier against scuffs and wear. The result is a professionally finished and elegant addition to your interior decor.


