Revitalizing Your Space by Painting Wood Paneling
Are you longing to give your space a modern, fresh makeover? One brilliant way to revamp your home is by painting wood paneling. This simple renovation can transform a dull, dated room into a bright and stylish one.
This guide will walk you through the process, providing you with the knowledge you need to confidently take on this DIY project.
Why Paint Wood Paneling?
Wood paneling was once a popular choice for home interiors, especially during the 1960s and ’70s. However, as design tastes evolved, many homeowners found these wood-paneled walls dark and outdated. Painting over the wood can brighten up the space, make it feel larger, and give it a modern aesthetic, all while preserving the unique texture of the paneling.
Preparation: The Key to a Successful Paint Job
Paint Wood Wall Paneling
As with any home improvement project, preparation is key. Before you start painting, it’s important to clean your wood paneling thoroughly. Use a mild detergent solution to remove any dirt, dust, or grease that may prevent the paint from adhering properly.
Next, you’ll need to sand the wood paneling lightly. This step is crucial as it helps to create a surface that the primer and paint can bond to. Start with medium-grit sandpaper, working your way up to fine-grit for the smoothest finish.
After sanding, wipe down the surface to remove any dust. Then, apply a quality primer. This will not only provide a good base for the paint but also help prevent any stains or knots in the wood from showing through.
Choosing the Right Paint for Wood Paneling
Damp Rag and Solid Wood Paneling
When painting wood paneling, it’s essential to choose the right type of paint. For the best results, consider using a satin or semi-gloss paint. These finishes are durable, easy to clean, and provide a slight sheen that can enhance the texture of the paneling.
For the color, lighter shades like whites, creams, and pastels can make a room feel brighter and more spacious. However, don’t be afraid to go bold with a dark or vibrant color if it suits your style and space.
The Painting Process
Lightly Sand and Putty Knife
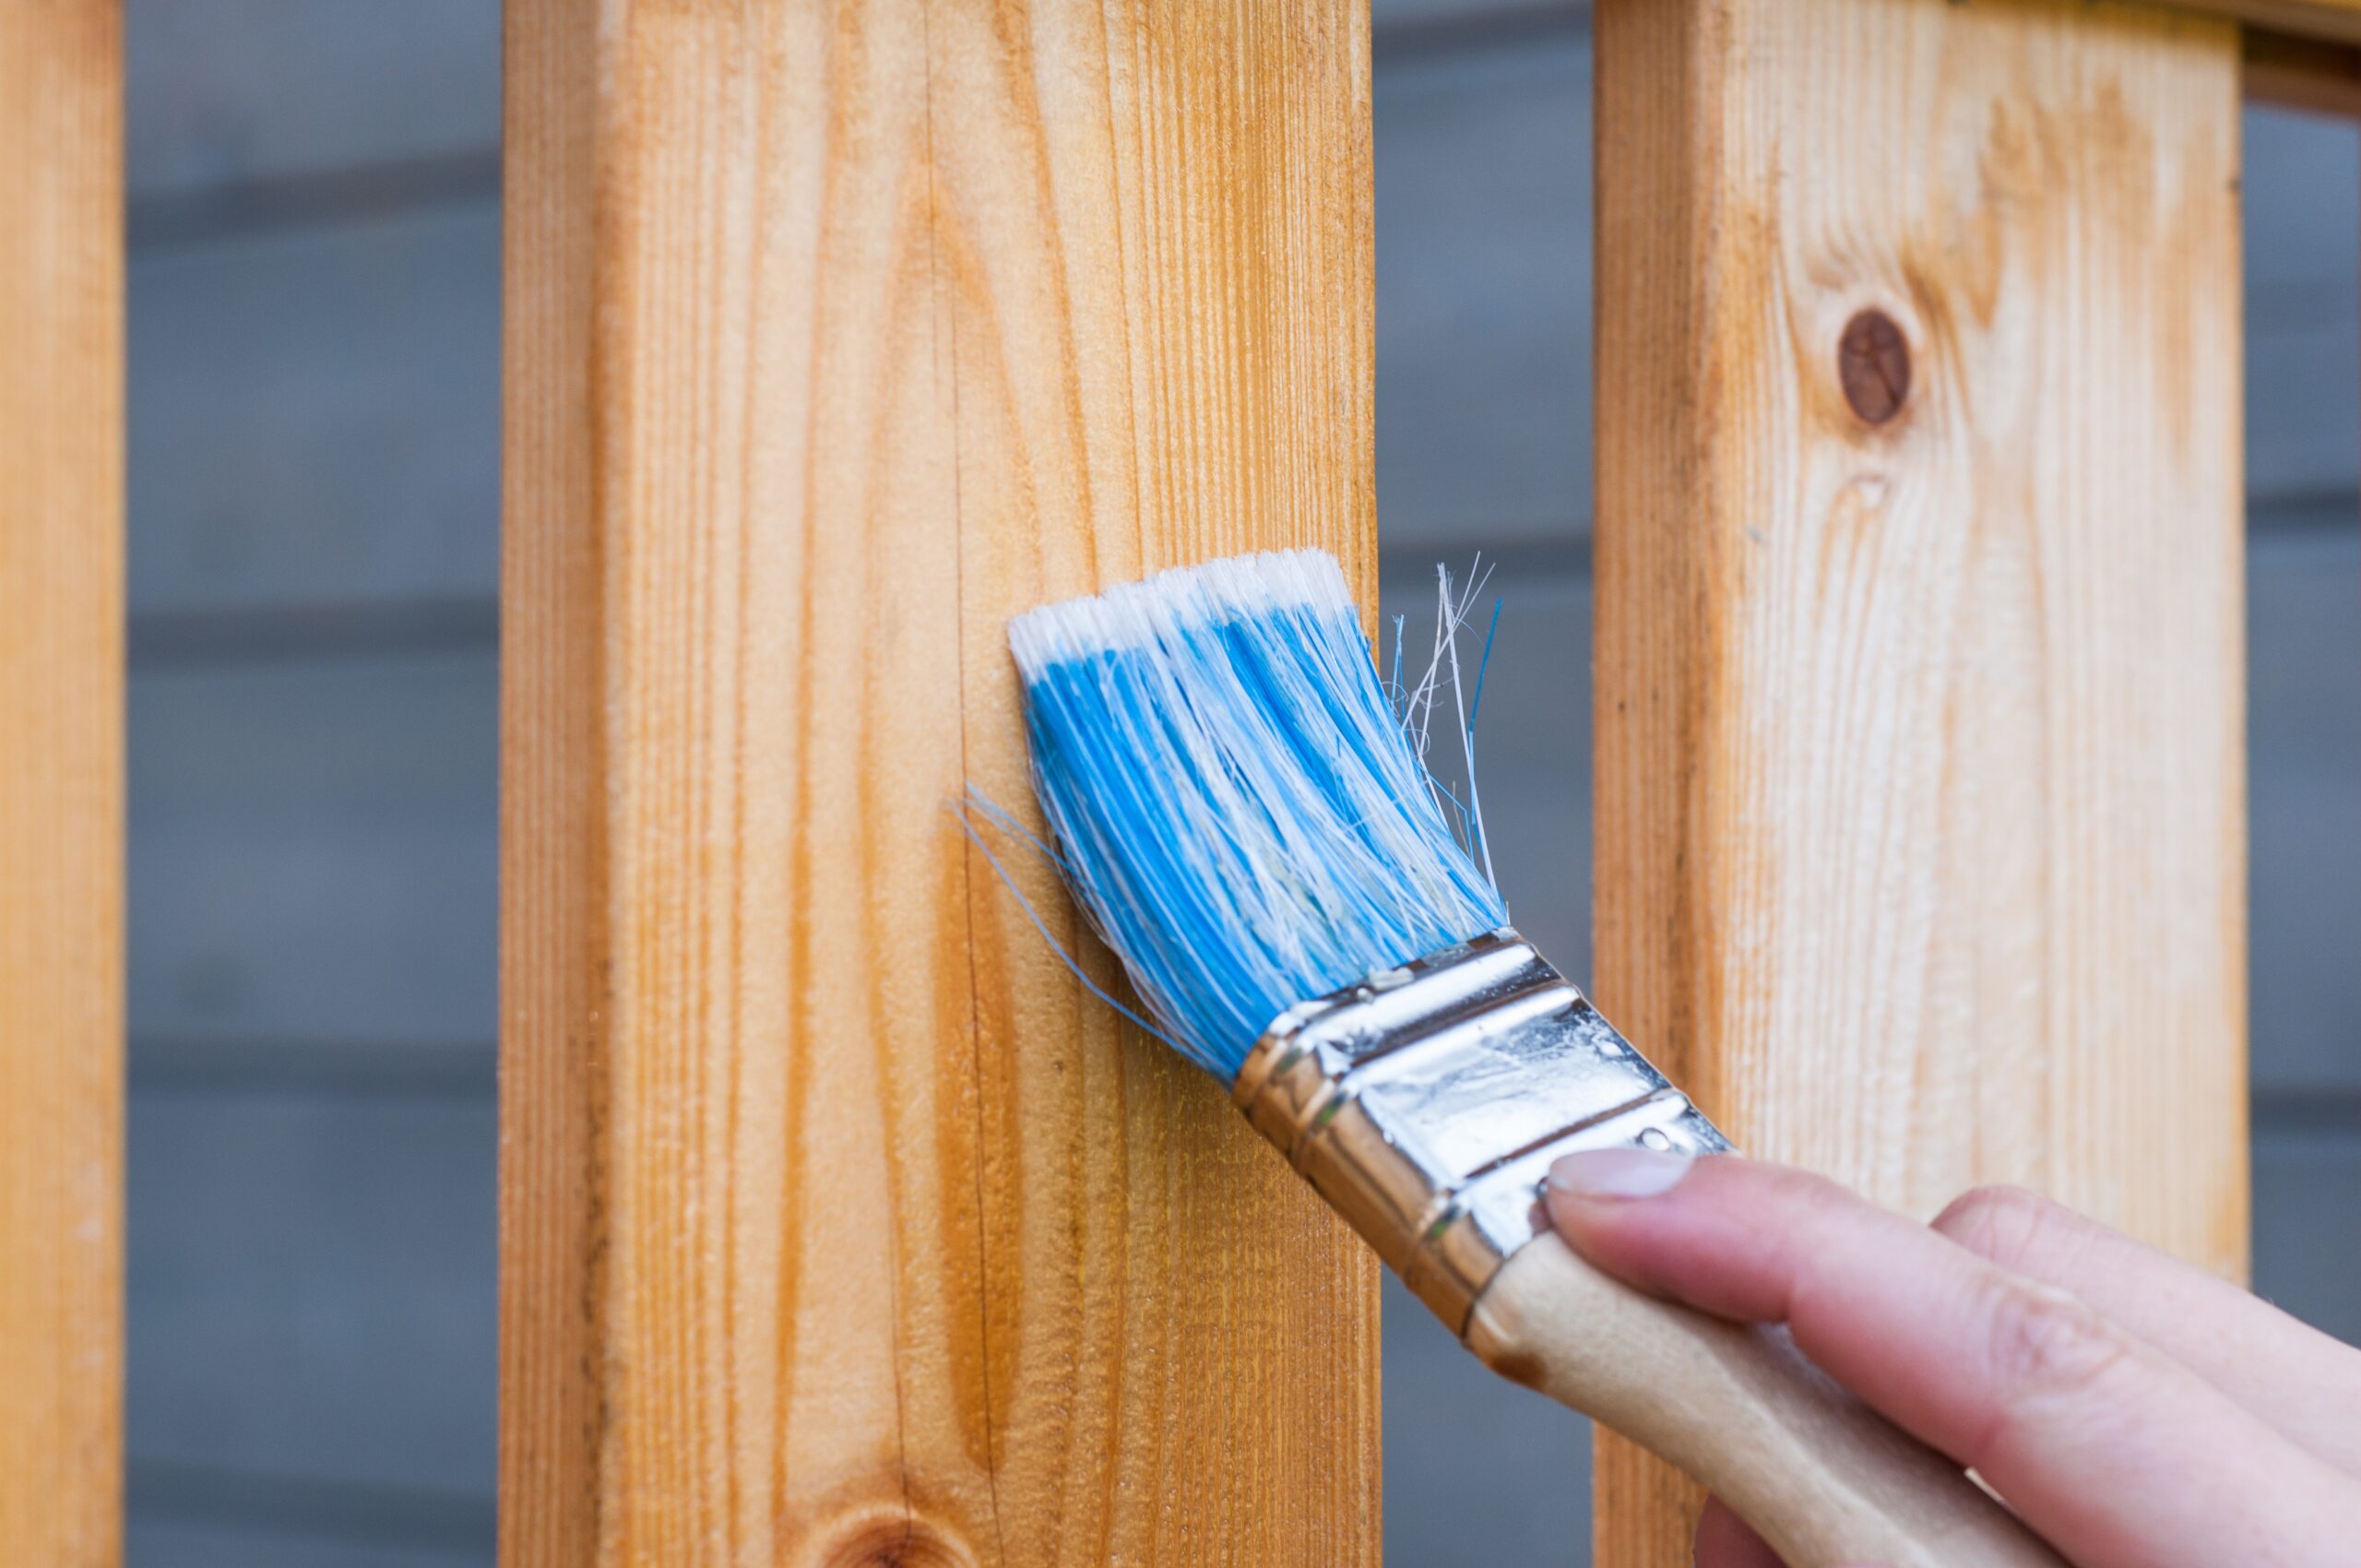
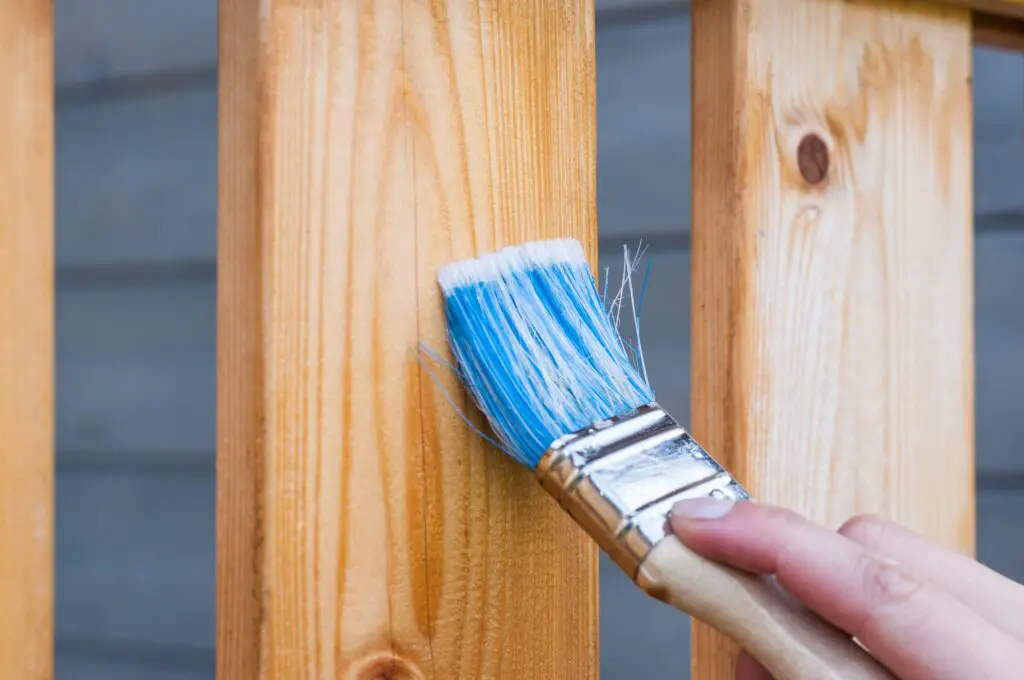
Now, it’s time for the fun part – painting! Start by cutting in around the edges of the paneling with a brush. Then, use a roller to fill in the larger areas.
When painting wood paneling, pay close attention to the grooves. These can be tricky to paint over, but a narrow brush or a mini roller can help ensure full coverage.
It’s usually best to apply two coats of paint, allowing ample drying time between each one. This will ensure an even, rich color and a professional-looking finish.
Tips and Tricks
Stain Blocking Primer and Tack Cloth
As you embark on your painting journey, keep in mind these handy tips and tricks that can make the process smoother and the outcome more pleasing.
1. Always Prime Before Painting
Priming is not just an optional step. It’s essential in preparing the wood paneling to accept the paint. Moreover, it ensures an even, bright, and lasting color.
2. Tackle the Grooves Carefully
The grooves in wood paneling can pose a challenge when painting. To ensure these areas are covered, use a small, narrow brush. For especially stubborn grooves, you might need to go over them a couple of times.
3. Use a Quality Brush and Roller
While it may be tempting to save a few bucks on cheaper tools, investing in a good quality brush and roller can make a significant difference in the final appearance. They not only provide a smoother application but also reduce the chances of stray bristles or roller lint sticking in the paint.
4. Don’t Rush the Drying Process
Give each coat of paint adequate time to dry before applying the next one. Rushing the drying process could lead to smudging, streaking, or uneven color.
5. Properly Dispose of Leftover Paint
Don’t pour leftover paint down the drain. It’s harmful to the environment. Many local waste facilities accept paint and will dispose of it properly.
Final Thoughts
Primer Tinted on the Entire Surface
Painting wood paneling can breathe new life into your space, giving it a fresh, modern appeal. With careful preparation, the right tools, and a bit of patience, you can transform your wood-paneled room into a place you’ll love. Remember, it’s not just about covering up the old, it’s about creating something new. And when you step back to admire your newly painted wood paneling, you’ll see just how transformative a can of paint can be.
Remember, the journey may be challenging, but the final result is a bright, modern room that’s well worth the effort. Use a drop cloth to keep your floors clean, pay special attention to the panel grooves, and ensure each coat of paint is dried thoroughly before applying the next.
After your final coat, cleaning your newly painted paneling can be as simple as using a damp cloth for dusting and spot cleaning. This transformation is not only about the aesthetic appeal but also about the satisfaction of revamping your space on your own. So, pick up that paintbrush, embrace the process, and get ready to enjoy the fresh, updated look of your home.
Whether you’re a seasoned DIY enthusiast or a first-time painter, this project is a rewarding way to revamp your interior. So why wait? Start your painting journey today and create a home that truly reflects your style.

