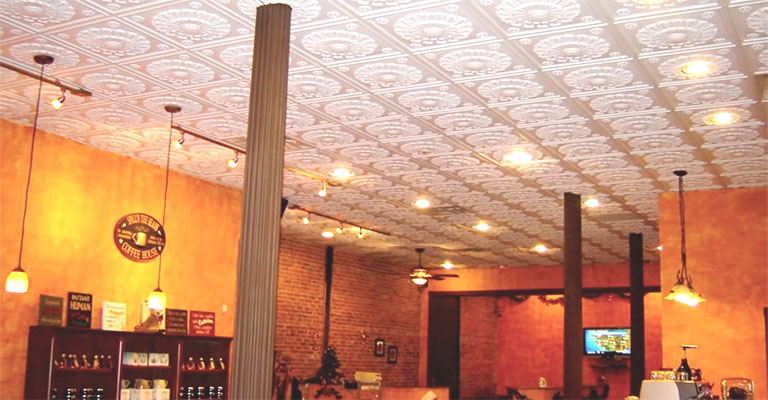
Can You Paint Cardboard Ceiling Tiles | Pros and Cons?
The quick answer is – yes, you can. But you can’t just roll up your sleeves, manage some equipment and start painting. To get a proper outcome, not a disastrous one, you must decide on the type of paint, use of a primer, the process you wanna adopt, warnings, pros, and cons.
Can You Paint Cardboard Ceiling Tiles?
Starring at the same old ceiling can be unexciting. Sometimes, it is hard to resist the urge to replace the old cardboard ceiling tiles with some new ones. But it is not always a viable option as it requires a lot of money and work. As a result, the question comes to the mind at times – can you paint cardboard ceiling tiles?
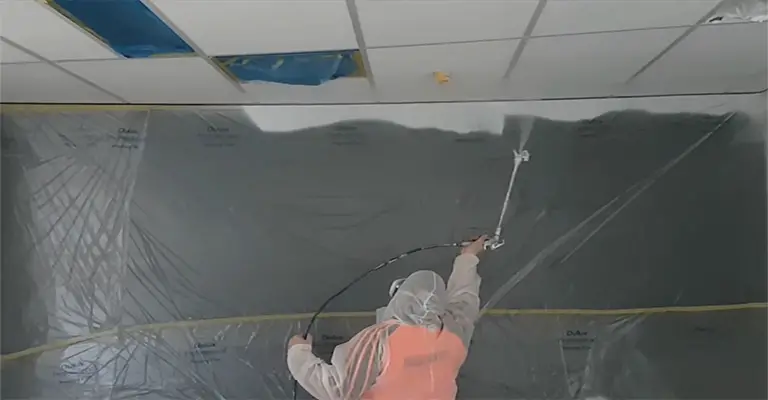
Painting cardboard ceiling tiles can be intimidating, especially when you don’t have enough knowledge about different styles of paints and brushes. The ceiling may look even less appealing than before if the paint doesn’t stick properly to the surface of the tiles.
Hence, you need to consider some factors before you get into it.
What Type of Paint and Brush to Choose?
Latex paints are the best for ceilings. But there is a catch – you need to use a primer before you can use latex paint on cardboard tiles. Spray paints can be an alternative. Like latex paint, make sure to apply primer on the ceiling tiles beforehand.
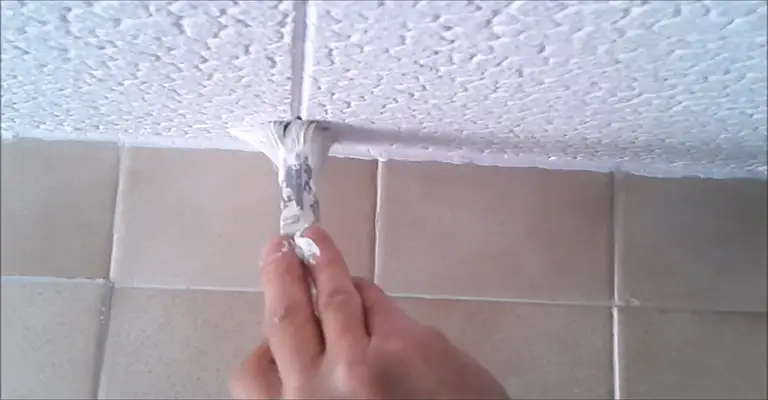
Like painting on the wall, you can use a roller paintbrush to cover more surface area in less time. You will need to use a flat paintbrush while painting the corners to avoid mess.
Why Do You need to Use Primer?
Cardboard can be compared to heavy-duty paper that has a highly porous surface. This means cardboard ceiling tiles have less ability to handle water. Any type of water-based paint, if directly applied, can cause the tiles to absorb moisture and show warping and curling effects.
To avoid such a situation, you must use a primer before applying the paint. It is best to use an oil-based stain-blocking primer.
Preparations Before Painting
After collecting the appropriate paint and primer, you need to do some preparations before you can start painting the cardboard ceiling tiles.
Gather the Necessary Equipment
Other than brush, paint, and primer, you will need some additional equipment to do the job properly. You will need some old clothes to wear, a ladder, a tray or a pan to pour the paint, some covers for furniture, and sandpaper.
Remove the Ceiling Tiles
If you have suspended ceiling tiles, it is better to remove them and bring them to the ground. Thus, your paint job will be a lot easier. To remove a tile from the grid, first, push it a little raise it above the grid. Then tilt the tile at an angle and lower it down through the grid.
If you have a fixed ceiling, you will have to paint them using the ladder.
Sand the Surface
Cardboard ceiling tiles often have a rough surface which may prevent the paint to stick properly. Though it may not always be necessary, you may smoothen the surface of the tiles a bit if you think it is too rough.
Take sandpaper or a sanding sponge and rub them back and forth to create a smooth surface. Repeat this procedure for every tile of the ceiling.
How to Paint the Cardboard Ceiling Tiles
Once you have sanded the tiles, it’s time to paint them. If you have been able to remove the cardboard tiles from the ceiling, put a large piece of cloth on the floor and arrange them on it. If you couldn’t remove the tiles, use the ladder to reach and paint them. If any part of your ceiling needs repairing, do it before proceeding to the paint job.
Step 1: Prime the surface
Clean the surface of each tile properly. Prime the surface using a roller paintbrush or a flat paintbrush. Let the primer dry properly before applying the paint.
Step 2: Apply the First Layer of Paint
Wait 24 hours after applying the primer. Then apply the first layer of paint thoroughly. Try to apply it in a thin layer to avoid the warping and curling of the cardboard tiles.
Step 3: Apply Second Layer
Wait 24 hours for the first layer to dry. Apply the second layer of paint, again keep it thin. Give the paint 24 hours to dry. If you still can see the tile surface through the paint, apply a third coat. You may continue to apply layers until you get your desired look.
Once you achieve the desired shade, put the removed tiles back in the grid one by one.
Painting Cardboard Ceiling Tiles – Pros
If you want a new design or implement a new pattern on your ceiling, you always have the option to change them. So why choose to paint them rather than change them completely? Let’s go through the pros to know the answer.
- Sometimes it is hard to find exactly the desired colored cardboard ceiling tiles. Painting them is the best option in this case.
- If you want to design a new pattern, you can paint them in different colors.
- Painting the ceiling tiles is more economical than changing them completely.
- Repainting is less time-consuming than dismantling an existing ceiling and then rebuilding it over again.
Painting Cardboard Ceiling Tiles – Cons
To be honest, the ceiling is one of the toughest parts of interior painting. The outcome depends on a lot of factors. Such as:
- Due to the chemicals used in oil-based primers, proper ventilation of the area you are painting is required. So, don’t forget to ventilate the room. If enough ventilation isn’t possible, avoid working for too long at a time.
- Though paint can enhance the interior look of your house, remember that pain can crack or peel too easily. The surface of a painted cardboard ceiling tile can lose its luster faster than the original one.
- Cardboard tiles may warp and crumble if the paint is applied in thick layers.
- If you don’t give the primer enough time to dry, there is a possibility that the primer will bleed through the paint. It can lead to discoloration in certain areas of the ceiling.
FAQs
1. How do you clean cardboard ceiling tiles?
Answer: To clean cardboard ceiling tiles, vacuum the ceiling. This will remove any loose dust or dirt from the cardboard tiles. You can also wipe them with a lint-free cloth.
2. How do you paint a ceiling tile without removing it?
Answer: Use furring strips to prop up a few tiles. Then use a brush to reach the corners of the tiles and paint the frame. Use a roller paintbrush to paint the middle portion of the tiles. Thus, you can avoid weird cracks in the paint if you paint cardboard ceiling tiles without removing them.
Final Thoughts
Cardboard ceiling tiles can lose their glow over time and become soiled. You can easily paint them to make them look attractive and the best paint for cardboard can give you the desired result. However, make sure to follow the appropriate process to achieve a long-lasting and visually pleasing outcome.
Discover the transformative power of painting your drop ceiling tiles, a cost-effective solution that breathes new life into any space, blending aesthetics with practical benefits while navigating the challenges involved.


![Simple DIY Storage Bench In 1 Day [+ DIY Plans] Simple DIY Storage Bench In 1 Day [+ DIY Plans]](https://wilkerdos.com/wp-content/uploads/2022/11/maxresdefault-2.jpg)
