Should You Caulk Vanity To Wall?
If you’ve ever had a caulking job go wrong, you know how frustrating it can be. The good news is that there are some easy ways to avoid this problem.
Caulking is a thin, flexible sealant that is applied to the joint where two surfaces meet. It is used in a variety of applications, including sealing bathtubs and showers, around window frames and doors, and on countertops.
Water can seep into places where it is not meant to, such as through cracks in the walls and floors. This can lead to water damage and mold growth.
That is why it’s important to caulk around a bathroom vanity, which can help prevent water from seeping into cracks.
This will prevent water from seeping into cracks around a bathroom vanity and damaging the cabinet or wall; it’s important to caulk around it.
The extra hour or so it takes to caulk around a bathroom vanity can prevent a future mold or mildew problem that could cost thousands of dollars to fix.
It is important to point out, however, that not every bathroom vanity requires caulking, and if you decide to caulk, ensure that it looks good, and by good, I mean that it should not be noticeable.
Is It A Good Idea To Caulk Around A Bathroom Vanity?
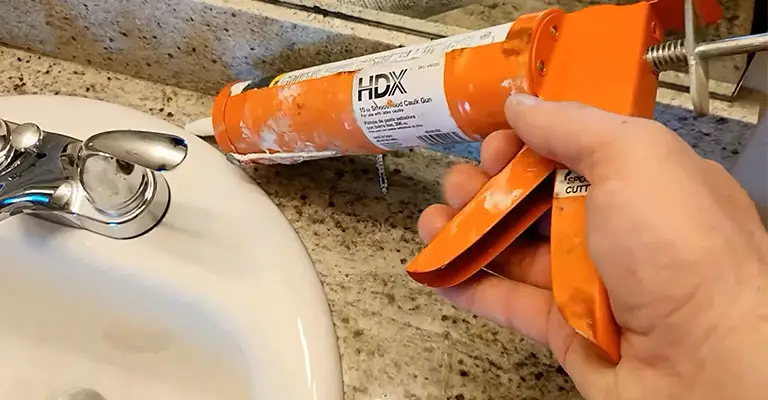
When your bathroom vanity rests flush to the wall, use silicone caulk to seal the side splash, backsplash, and countertop to tile or drywall. Providing a waterproof seal is essential to preventing future water damage, mold, and mildew.
Choosing a bathroom vanity that is the right size for your space, choosing a sink that fits best, and whether a backsplash is necessary are all important factors.
Can You Get Rid of Bathroom Mold By Re-Caulking?
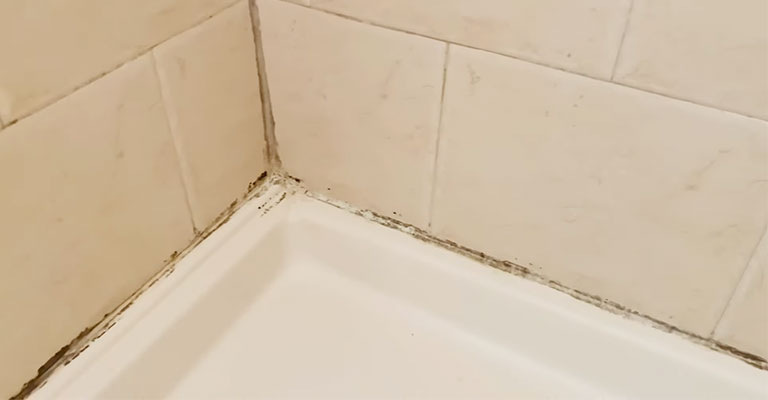
Your bathroom’s caulking might be growing mold or mildew, which is a horrifying discovery. It might have grown around the caulking or on the caulking.
Unfortunately, you can only see the tip of the iceberg with the naked eye. While it may be painful, it is better to find out sooner rather than later if there is hidden mold growing behind the caulking in the walls.
If you think you have a moisture problem, you can use a moisture meter to find out. With this valuable tool, you can determine exactly how much moisture is present in your home.
You can save thousands by paying just $25 on this tool rather than needing to tear down drywall in the future if you ignore a developing problem.
Caulking Around Different Types Of Bathroom Vanities
Bathroom vanities generally fall into three categories:
Freestanding Bathroom Vanity
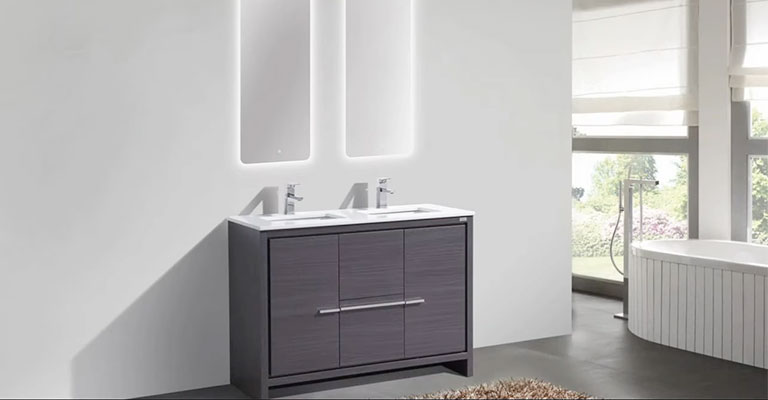
Vanity pieces made of repurposed furniture are used as freestanding bathroom vanities. In many cases, it is pushed against the plumbing wall without being fixed to it.
The back edge of your countertop should be caulked with caulk if your furniture rests flush against the back wall. However, with a freestanding vanity, the furniture won’t always be flush with the wall, so it can’t be sealed.
The Wall-Mounted Bathroom Vanity
Most of these vanity units are attached to only one wall and don’t touch the floor, giving the impression that they float several feet above it. The horizontal edge of the vanity top should be caulked with a caulk where it meets the back wall.
The Cabinet Bathroom Vanity

The cabinets of a bathroom vanity have drawers and cupboards that can be pulled out. Often, it is positioned snugly against two or three walls while sitting flush against them.
A cabinet bathroom vanity can be protected from water damage by caulking around the backsplash and side splash. In addition, caulk the cracks between the countertop and side splash and backsplash to prevent water from seeping through.
How To Re-Caulk A Vanity?
In order to seal gaps between your vanity and the walls around it, you must use caulking. Unfortunately, it is possible for this caulking to dry out or crack over time. It can also become discolored due to stains or mildew.
Caulking that is old and dingy can make your vanity look old and old and allow moisture to penetrate your wall and damage the vanity.
You can restore the vanity to its original appearance by removing the old caulk and resealing it. Generally, homeowners don’t need professional assistance when it comes to re-caulking a bathroom vanity.
Step 1
Utility knives can be used to cut through the old caulking. First, you want to seal the gap at the top of the backsplash and along the wall with the knife.
Once you’ve done that, slide the knife down the old caulking. Be careful not to cut the vanity or the walls while cutting the caulking.
Step 2
The old caulking should be removed after it has been scored with the knife. It may be necessary to lift an edge of the old caulk with a putty knife in order to start the process.
Step 3
With a putty knife, scrape any excess caulking on the backsplash and walls. Do not gouge the vanity or the walls around it with the putty knife positioned almost flat against the vanity.
Step 4
The vanity should be cleaned with mineral spirits dampened cloth to remove caulk residue, dirt, grease, and soap film. Caulk should be removed completely.
Removing any remaining caulk or residue on the walls or the vanity may be necessary to allow the new caulk to adhere soundly.
Step 5
The vanity should be rinsed with clean water and allowed to dry.
Step 6
A caulking gun should be filled with caulk. It is common to use latex caulk because it can be painted. The applicator tip should be cut at a 45-degree angle.
Test the tip on a piece of cardboard by cutting only a small amount from the tip. The end of the bead should be sliced a little more if it is too narrow.
Step 7
Using a continuous bead of caulk, seal the gap where the old caulking was between the vanity and the wall at one end of the backsplash. Fill the gap evenly and slowly.
Step 8
You can apply the caulk with your fingertip, or a caulking joint tool moistened with water. A damp cloth can be used to remove excess caulk.
Step 9
The vanity edges should also have a bead of caulk applied where they meet the walls. The excess caulk can be wiped off with a damp rag after you smooth them out with your finger or a caulking joint tool.
Step 10
Ensure the caulk is cured for 24 hours before exposing it to moisture.
Is Grout The Same As Caulk?
It is common for people to confuse caulk and grout or to use the terms interchangeably. Before we move on to your bathroom vanity, let’s clear up this misconception:
While grout and caulk are commonly used in the bathroom, they are different. There are two types of grouts: cement-based and epoxy-based.
It prevents tiles from moving between each other. It is possible to use latex, acrylic, or silicone caulk. Often, it is used to seal a construction surface between two surfaces that are not in contact with each other.
Grout is good for filling joints while caulk is good for filling corners. Go for the right solution while filling the tile gaps. Some people try to caulk over the grout which isn’t a good solution but just a temporary fix.
What Is The Best Way To Remove A Vanity From The Wall?
To remove the sink or vanity top from the wall, carefully cut the sealant along the backsplash with a utility knife.
Next, the sink top should be removed from the vanity base. When you want to remove the sink top from the base, you may need to use a pry bar since some tops are attached with glue or brackets.
Is It Possible To Push A Bathroom Vanity Against The Wall?
Vanity freestanding are repurposed pieces of furniture converted into bathroom vanities. It may not be permanently attached to the plumbing wall but is pushed up against it.
When your furniture sits flush against the wall, it’s a good idea to run a line of caulk between the countertop and the wall.
Final Words
Bathroom vanity cabinets and walls need to be caulked to prevent water from seeping into cracks and causing damage. In order to keep mold and mildew from growing around the bathroom vanity, caulking is worth spending an extra hour or so on.


