How to Remove New Construction Recessed Lights
Different types of recessed lights are available. According to the type, the process may be a little different. But mainly to remove a recessed light, first pull the fixture from the ceiling until the junction box is exposed. By following the steps of uncovering the wiring and untwisting the connectors, you can remove a recessed light all by yourself.
How to Remove New Construction Recessed Lights
Removing a recessed light is no big deal if you do it with concern and proper knowledge. Each light comes with various features. Go through the following section to know how to remove new construction recessed lights.
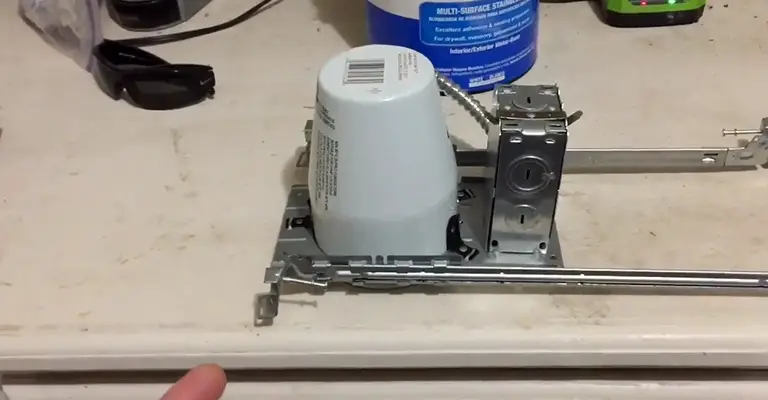
How to Remove a 4 Inch Recessed Light
For 4-inch recessed lights there are many brands available as well and each has specific ways of repair and installation. However, there’s a common process. At first, you have to turn off the light. Then remove the bulb slowly.
These types of bulbs usually have stiff wire springs in the lamp base to hold the bulb in the ceiling. These springs glide in the groove. Remove it. The base of the light may be larger than the ceiling hole.
It’s usually attached to a support with screws and nails. It’ll be easier if you cut off the drywall to release the light base. Try to cut a nice square so that later you can replace the bulb and mend the area easily.
Installing recessed lighting in your home, or any other building for that matter, can be surprisingly simple. You can install them without access to an attic and you don’t have to worry about any additional fuss because there are many different installation methods that are quick and easy.
How to Remove New Construction Recessed Lights Without Attic Access
In fact, the most common and simplest way of installing recessed lights is what’s called the “old work” method. Means installing a new recessed ceiling typically using existing hole in your celling joists.
How to Remove Recessed Lighting Clips
Some lights feature clips that hold the light strongly in place. To remove the light, these clips are needed to be removed first. For that, turn off the light at the beginning to start the process.
You can also turn off the breaker switch for the light for additional safety. now unscrew the bulb and keep it aside somewhere in a safe place. You’ll see some coil springs around the light housing. Grab one of it and lift it upwards. Unhook the spring from its slot. You should follow the steps for all of the coil springs.
After removing the light fixture, you’ll see four black clips inside the light. Each of the clips will have a small slot. Embed a flathead screwdriver into the slot and shift up towards the wall. This will remove the clips.
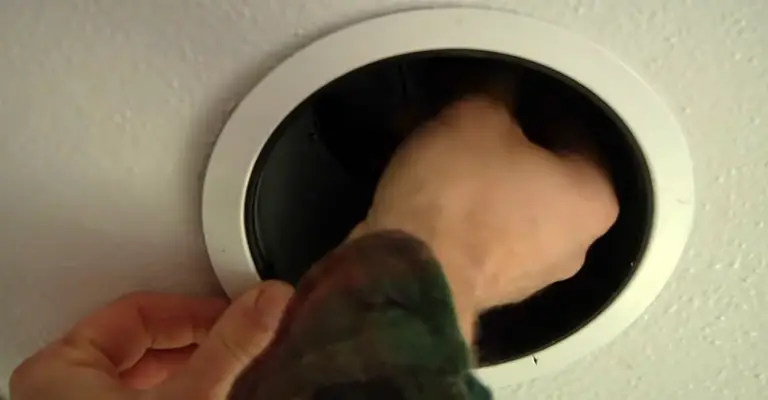
How to Remove Can Lights From Ceiling
At first turn off the light, as usual, to prevent yourself from dangerous accidents. It’s better to turn off the breaker switch for the light. You can also use a voltage detector to check if there’s any power remaining. However, once you’re sure that there’s no voltage at all, follow the next steps.
How to Remove a Remodel Can Light
Remodel can lights, also known as renovation recessed lights are usually clamped to the drywall instead of connecting to the ceiling joists. Now turn off the light or the circuit breaker. As mentioned before, it’s safer to check the connections with a voltage detector to determine if the power is completely off.
Now unscrew the light. Usually, inside the fixture, you’ll see two small coiled springs. Unhook them to release the trims. If you don’t see any small springs, grab the outer edge of the trim. Pull it away from the wall to disclose double spring wires. Squeeze the wires with your finger together and the trims will be removed.
Now remove the black clips as mentioned before. The recessed fixture will be removed completely. Now after exposing the junction box, press the tab holding the cover in place. After taking off the cover, pull it off to disclose the wiring. Disconnect each set of wires.
There will be a locknut surrounding the cables in the place the cables invade in the junction box. Rotate the locknut counterclockwise to remove the cable connectors. Now your recessed light is fully prepared to be off the ceiling.
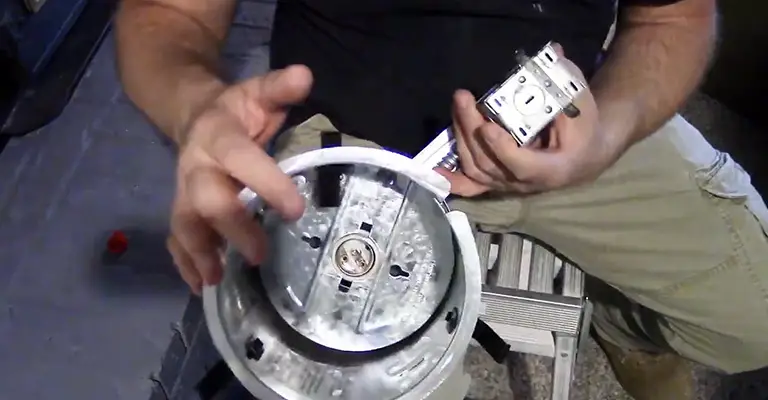
How to Remove Lightolier Recessed Lighting
Lightolier Recessed lights usually utilize a socket cup that trims onto the reflector and involves a bulb socket. But in adjustable trims, the light doesn’t plug straight into the socket cup. It plugs into a specific socket with some leads that connect into the cup.
To remove the light, you can twist and pull the entire fixture out. Remove the friction clips first. However, don’t forget to turn the light off before jumping into work. This type of fixture is normally L-shaped. So it can’t be pulled out straight. You may need a little tilting at the edge. If the connection is loose with the socket cup, this pulling out may not be required.
How to Remove Halo Recessed Lighting
After following the necessary steps of safety such as turning off the light and the circuit breaker, place your finger up behind the light a little bit. If the light is strongly attached to the ceiling and you can’t place the fingers behind it, take a flathead screwdriver and insert the very narrow gap between the ceiling and the light.
Pull the light down in a distance so that you can easily release the remaining parts. You’ll see four springs, two at each side. Squeeze them together to unplug the light. Inside the hole, there will be a wire screwed inside an outlet. To remove the outlet, just turn it counterclockwise.
How to Remove Spring Loaded Recessed Lightin
Spring-loaded recessed lightings don’t have any different process of removal. Usually, the springs are removed by squeezing the pair together. If the springs are attached with a slot, unhook the slot as usual to remove them. You don’t need any extra tools. Follow it for every spring placed inside the fixture.
Cannot Remove Recessed Light
There are various tools available to help in the removal of recessed lights such as light bulb changer poles with suction cups or suction cup hooks etc. You can use these to grip the sides of the bulbs or attach to the face of the bulb and unscrew it. However, there’s an easy way also.
For this, you’ll only need a piece of duct tape. Take a piece of duct tape and round it in the shape of ‘O’. keep the sticky part outside. Now stick the tape to the face of the light securely. Put four fingers inside the tape loop and rotate counterclockwise to loosen the light. This will help to remove a stuck recessed light.
FAQ
Q: What is new construction recessed lighting?
Ans: Recessed lights are installed straight towards the ceiling. New construction recessed fixtures are held by screwing or nailing the fixture’s base to the wall joists.
Q: What tools do we need to remove the recessed light all by ourselves?
Ans: There’s no additional tool needed. you should only gather a normal screwdriver and a flathead screwdriver. You can do the removal using your hand if done carefully.
Conclusion
Recessed lights are highly popular nowadays. Installing recessed lighting gives your home a new look. These lights may need to be removed occasionally like in times of painting or remodeling. Hopefully, this article has been able to provide you the basic information of removing new construction recessed lights effortlessly.
When dealing with old recessed light cans, be sure to secure electrical wires with electrical tape to prevent any accidental shocks or short circuits. Meanwhile, replacing these light fixtures is a task that requires precision and a keen eye for detail. Whether you’re looking for a DIY project or a professional’s task, understanding how to safely and effectively remove and replace your home’s recessed lighting can be a game-changer for your interior design goals.
Moreover, by knowing how to properly remove recessed lights, you’ll gain the ability to keep your home’s lighting up-to-date and in line with current trends. With the right tools, safety measures, and a little patience, you can transition your lighting from old and outdated to sleek and modern, adding significant value and aesthetic appeal to your home.

