Wood Bleach: Transforming Woodwork with Ease
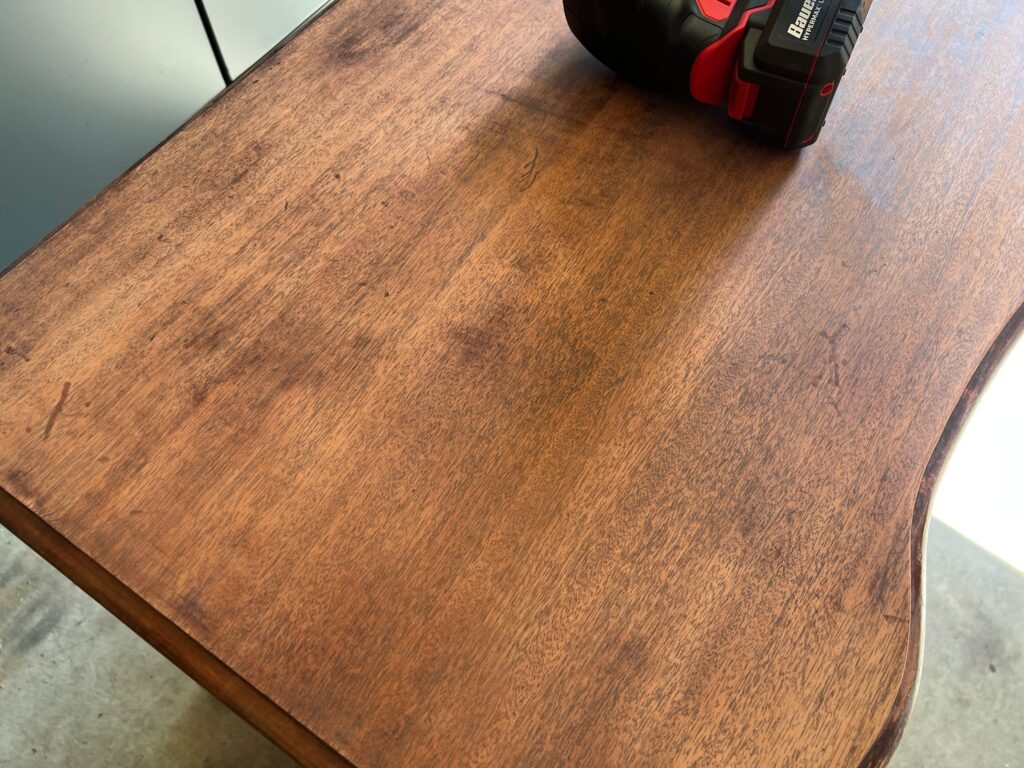
Wood bleach is a transformative solution widely used by woodworking enthusiasts and professionals alike to lighten the natural color of wood or to remove stubborn stains. Whether you’re restoring an antique piece, preparing wood for staining, or simply looking to achieve a uniform color across mismatched boards, wood bleach is an invaluable tool.
In this comprehensive guide, we’ll delve into the types of wood bleach available, their uses, and best practices to ensure your wood projects turn out flawlessly.
Understanding Wood Bleach
Wood bleach comes in various chemical compositions, each tailored for different bleaching needs. The most common types are chlorine bleach, oxalic acid, and two-part wood bleaches consisting of hydrogen peroxide and sodium hydroxide. Chlorine bleach is best for removing dye-based stains, while oxalic acid effectively tackles rust and water stains. The two-part wood bleach is the most potent, significantly lightening or completely changing the wood’s color.
Safety Considerations
Before starting your wood bleaching project, safety should be paramount. Wood bleach chemicals can be hazardous, so it’s essential to work in a well-ventilated area, wear gloves, and protect your eyes with goggles. Always follow the manufacturer’s instructions to ensure safe and effective use.
Preparation for Bleaching
The key to successful wood bleaching lies in preparation. Begin by cleaning the wood surface thoroughly to remove dirt and grime. Sand the wood with a fine-grit sandpaper to open up the grain, which allows for more even absorption of the bleach. After sanding, wipe the wood down with a damp cloth to remove any sawdust.
Applying Wood Bleach
When applying wood bleach, use a synthetic brush or sponge to apply an even coat. Work in sections if you’re dealing with a large piece to maintain control over the bleaching process. Allow the bleach to sit according to the time recommended by the product’s manufacturer. This could range from a few minutes to several hours, depending on the type of bleach and the desired level of lightening.
Neutralizing the Bleach
After bleaching, it’s crucial to neutralize the chemical reaction. Most two-part bleaches will have a specific neutralizer; for others, a mixture of water and baking soda can be used. Apply the neutralizer according to the instructions, then rinse the wood with clean water. Skipping this step can result in damage to the wood or issues with future finishes adhering to the surface.
Finishing After Bleaching
Once the wood is dry post-neutralization, you may notice a raised grain. Gently sand the surface with fine-grit sandpaper to smooth it out. Now your wood is ready for finishing. Whether you choose to apply stain, oil, or leave the wood in its naturally lightened state, always finish with a sealant to protect the wood and the work you’ve put into it.
DIY Tips and Tricks
For DIY enthusiasts looking to use wood bleach, here are some additional tips:
- Always conduct a patch test on a hidden area or scrap piece to gauge the final result.
- Mix only as much bleach as you need for the project to avoid waste.
- Be patient and allow the wood to dry completely before judging the final color, as it can change during the drying process.
Professional Use of Wood Bleach
For professionals, wood bleach is a tool for not only correcting color variations but also for creating custom finishes. High-end furniture makers often use wood bleach to achieve a specific aesthetic or to match existing woodwork. In restoration, wood bleach can return a piece to its original glory, making it a critical step in the conservation process.
Environmental Considerations and Alternatives
In today’s eco-conscious world, it’s important to consider the environmental impact of using wood bleach. While effective, some chemicals in wood bleaches can be harsh and may contribute to pollution if not disposed of properly. Always check the disposal recommendations on the product label and consider eco-friendlier options when available. For instance, some woodworkers use a solution of vinegar and hydrogen peroxide as a more natural approach, though it may be less potent than commercial wood bleaches.
Storing Wood Bleach
Proper storage of wood bleach is essential for maintaining its efficacy and preventing accidents. Keep wood bleach in its original container with labels intact, and store it in a cool, dry place away from direct sunlight and heat sources. Ensure that the containers are sealed tightly to prevent leaks and evaporation.
Understanding Wood Types
Different woods react differently to bleaching agents due to variations in density, grain, and natural oils. Softwoods tend to absorb bleach more rapidly, which can lead to uneven results if not monitored closely. Hardwoods can be more resistant and may require a stronger solution or more prolonged exposure to the bleach. Familiarize yourself with the type of wood you’re working with to tailor your bleaching technique accordingly.
Advanced Techniques
For those seeking to take their wood bleaching to the next level, there are advanced techniques like creating a sun-bleached look or using bleaching to highlight wood grain. These techniques require a bit more skill and understanding of the bleaching process but can yield stunning, artistic results.
Incorporating Color
While wood bleach is primarily used to lighten wood, it can also serve as a pre-treatment step before adding color. Bleached wood can take on dyes and stains more evenly, offering a clean canvas for vibrant or subtle hues. This can be particularly useful when trying to achieve pastel tones or when working with brightly colored stains.
Community and Resources
Joining a community of woodworkers or online forums can be beneficial for those new to wood bleaching. Sharing experiences, troubleshooting issues, and discussing techniques with peers can enhance your knowledge and skills. Additionally, numerous resources, such as tutorials, videos, and articles, are available to guide you through your wood bleaching journey.
Final Thoughts
Bleaching wood furniture is a transformative technique that can revive the wood’s natural color or provide a blank slate for creative finishes. When handling these projects, it’s imperative to wear rubber gloves and follow safety precautions to protect yourself and your workspace. The process not only enhances the visual appeal of natural wood color but also empowers DIY enthusiasts and professionals to effectively tackle issues like rust stains and discoloration. Whether you’re working with the dense fibers of white oak or the porous surface of red oak, understanding the unique characteristics of each wood type can prevent uneven bleaching and ensure a consistent, desired outcome.
Additionally, while household bleach can be a quick fix for lightening raw wood or correcting minor inconsistencies, it’s crucial to approach each bleaching project with patience and attention to detail. Remember that each piece of wood is as unique as the project it embarks on; thus, a test patch can be the difference between a masterpiece and a learning experience. By respecting the wood’s integrity and taking the time to understand the nuances of wood bleaching, you can preserve the beauty of wood furniture, ensuring that the natural allure of your woodwork remains at the heart of every creation.

