How to Install Cove Lighting?
Cove lighting is a recent addition to the style and trend of lighting. Somehow it manages to look like the sunlight has found its ways through holes in the walls. It’s not a very complex procedure but people tend to make complex mistakes while installing it. So here we go, learn how to install cove lighting?
How to Install Cove Lighting?
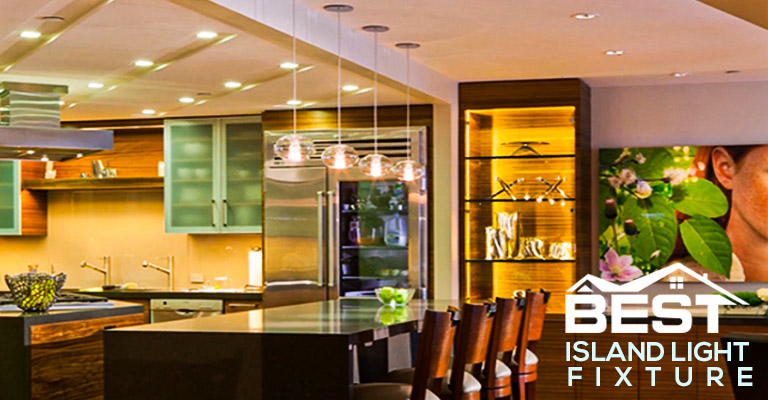
The cove lighting can bring elegance to even the most uninspiring room and enhance your peace. You can install it on the entire ceiling or on a specific place of your home like to enlighten the floating shelf of your home.
But the process of setting it up is not easy. Without doing it correctly, the room may get worse. So, here are the steps you need to follow to install cove lighting.
1: Choose the correct location
You may like to know in which area or how many feet away from the ceiling will it look the best. If you fix the crown molding and the lighting position goes wrong, it will be a problem to change the area.
So before that, it’s better to take a demo crown molding and attach a piece of LED tape light to the back. Now, do some experimenting and move it up and down from the ceiling to determine the best location to set it.
2: Scale the wall
For an easy and perfect setting, take a pencil and mark the bottom edge of the molding in the wanted location. It’s very important to set the cove in line, otherwise, the gap can be uneven between the ceiling and the cove which will surely ruin the purpose.
3: Install the mounting bracket
The power for the lights usually comes from the wall receptacles of the room. You have to plug the power supply into the outlet and it will provide DC. But the lights will be mounted on the molding and the outlets usually remain on the bottom of the wall.
If the wires remain visible, it definitely won’t look good. So, to hide the wires and take the power supply to the molding, first you need to cut a hole or a rectangular piece of the wall according to the size of your mounting bracket. Now place the bracket on that point and install it with screws.
4: Create the exit path of the wire
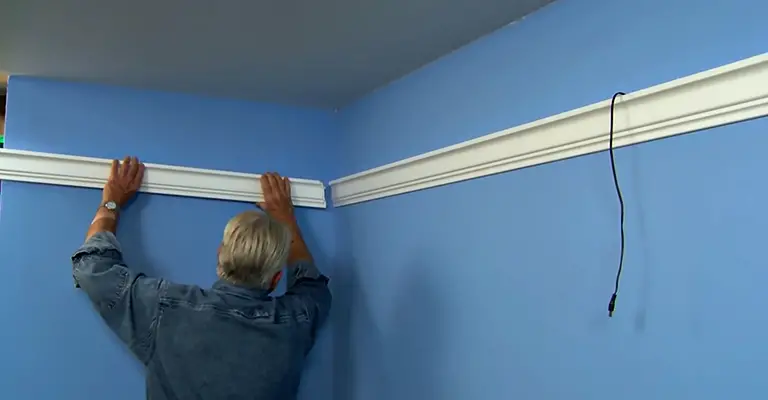
After installing the outlet, take a pencil and a plank of large wood or scale and draw a vertical line on the wall according to the height of the cove where you want to set it up.
Then mark the position where the wires of the light will exit. Now, create a hole or an opening like before.
5: Fish the cable out
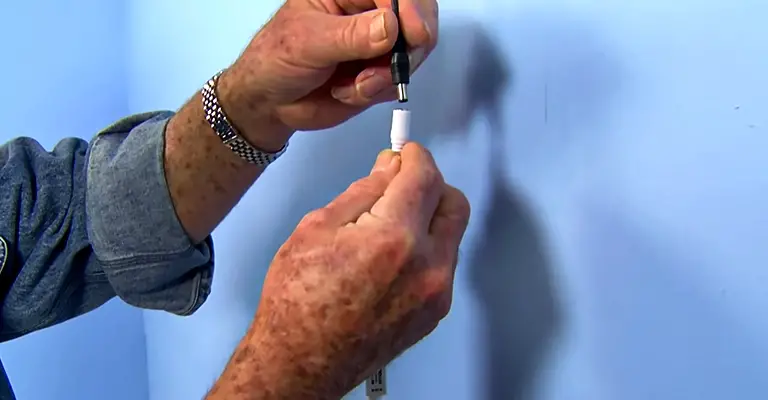
You can attach an extension cable to the power supply. Now take a wooden dowel or a piece of any heavy thing and attach it to a side of a large string. On the other side of the string, you can attach a short chain or any small heavy thing.
Put the heavy thing to the created hole or opening on the top of the wall and let it fall. When it’ll be seen from the opening on the bottom, take out the string and attach it to the end of the extended cable. Pull the wooden dowel or the thing attached on the upper side of the string.
The cable will go up with the string. Now remove the string and install the recessed cable plates on the openings.
6: Add nonmetallic foil tape
This step is optional. But by adding a nonmetallic foil tape on the base or crown molding, the possibility of shorting out the LED lighting strip will be reduced. It will work as a reflector and bounce the maximum amount of light upward. Attach this tape on the cake of the crown molding.
7: Build a Cove
You can attach a base to the wall in the line of the cove. Screw the base to the wall. Depending on the size of the transformer, you may need to notch out a part of the base to give it a place. You can also cut blocks and attach them to the base with 2-inch 18-gauge bards to support the molding.
If you want to attach the crown molding directly to the wall, you can skip attaching base and blocks. But a good base will provide support to the molding.
8: Measure your lights
If you use LED tape light or rope light, first you have to measure the selected light for the length of the cove. As for various directions, it may need cutting the lights to turn corners out.
Each type of light has a marked area usually with dots for cutting because of maintaining the functionality of the lights properly. You should measure the length of the cove and cut the light in the indicated area accordingly.
There are two types of lighting. They are LED tape lighting and LED rope lighting.
LED Tape Lighting
This type of lighting is better for short runs. They come with a pre-wired transformer. You can use them with regular switch but the dimmer situated on the transformer is not easily approachable.
LED Rope Lighting
It is the cheapest one to go for. They are suitable for long runs and can be dimmed with a usual dimmer. But they are hard to direct and can’t split off in more than one direction.
Step 9: Attach the molder to the wall
You can attach the crown molding with a standard painter’s caulk or high-tech caulk. Now, apply the element on the bottom part of the molding which will be attached to the wall. After applying it fully, press the molding to the wall according to the mark. Then caulk the miters as well.
If you’ve built a base and blocks, you can attach the bottom of the molding to the base with 1-1/4 inch brads and the block with 2-inch brads.
Step 10: Mount the lights
The LED tape light can be plugged straight to the power cable. But you can use a wireless controller between the tape and the power cord to operate the lights with a remote. Now set the position of the lights inside the molding and start peeling off the protective backing from the light. While it will fall on the foil of the molding, press it in position.
Conclusion
The installation of LED cove lighting can truly transform your space, providing sophisticated accent lighting that exudes an air of elegance. LED strip lights are a fantastic choice, as they are not only energy-efficient but can also be incorporated into various sections of your home such as the crown molding cove, a popular location for such installations. With your LED strip light carefully nestled within the molding, you will create a beautiful cove lighting design that radiates a soft, indirect lighting, perfect for creating a cozy and inviting ambiance.
Moreover, when you install LED cove lighting using LED strip lighting or LED rope light, you give yourself the flexibility to adjust the intensity of light as per your liking or the event’s need. The integration of a dimmer switch allows you to transition from bright task lighting to more subtle mood lighting, giving you full control of your space’s aesthetics. In essence, the decision to install rope lights in the form of elegant cove lighting not only gives your home a stylish upgrade but also enhances its functionality, showcasing the true power of well-thought-out, strategic light strip placements.
Man always finds comfort in elegant households. If you aren’t happy with the regular looks of your living or room, cove lighting is the nearest and easiest option you can go for. It will change the look dramatically and overnight. But, a tiny mistake can reverse the whole picture. It may seem hard in the first place but once you start following the steps one by one, you’ll see the progress. Hopefully, the information above will help you to install the cove lighting you wanted. Just focus, pay attention and follow. You’ll get the results immediately.

